The process of making this Contemporary Kitchen has been explained by Apiwat Hngimhyun aka "Starsheep". Apiwat is a well known Thai visualizer and once featured at the former VRAY Asgvis site and forums. Personally, we would like to thank Apiwat for allowing us to post this tutorial here at SRV. This tutorial was originally posted by him at www.thai3dviz.com.
In this "the making", Apiwat briefly explained some of the crucial steps on how he made the kitchen below. He also shared a small tutorial on how he successfully achieved the DOF effect.
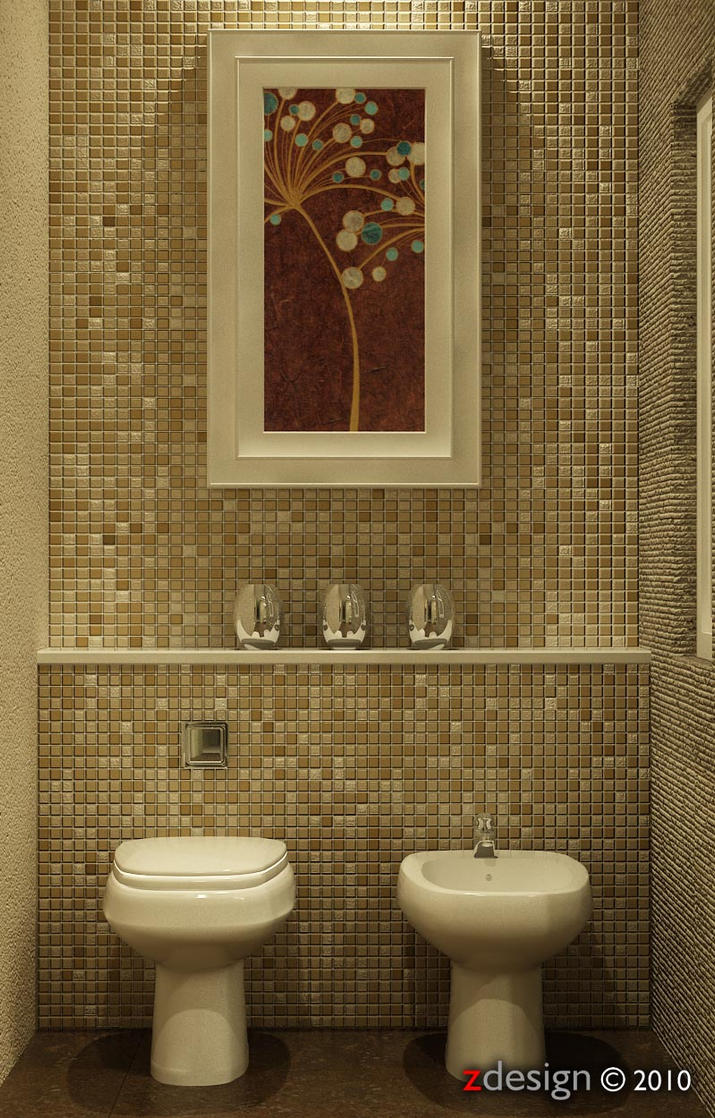
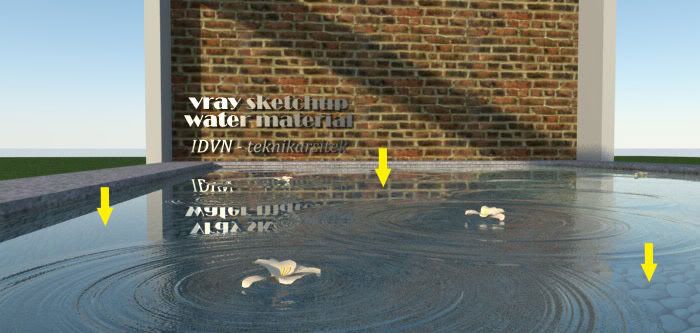
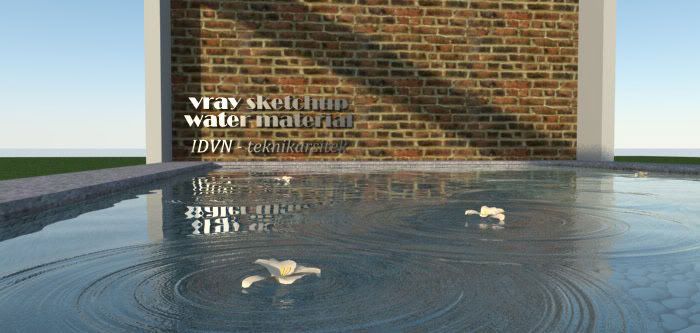
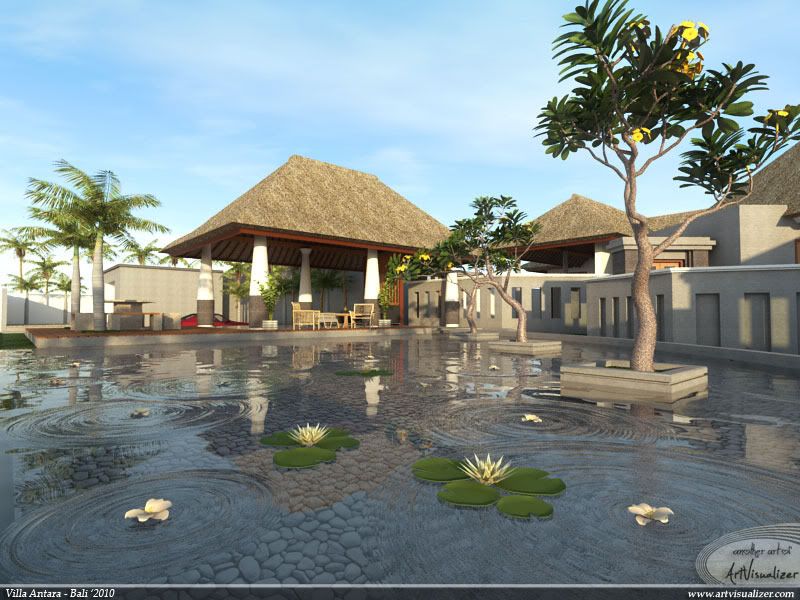
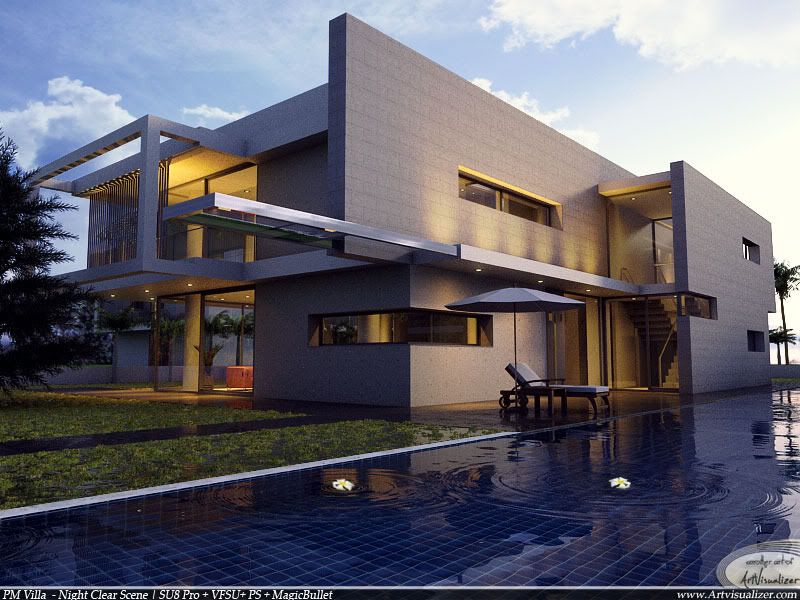
Preview of the finished product
Here is Apiwat Hngimhyun
1. MODELS
Hello everyone! This tutorial might have different setting with how other use Vray-Sketchup, but I want to share my experience using this model. The model itself is very simple; walls, doors, windows, cabinets and other fixtures. Some of the components were taken directly from
Google 3D Warehouse. Others were produced from different application like Moi. Some components were remapped and edited to add further details. I recommend you to look on Designer Tiago models in the 3d warehouse.
2. LIGHTING
Lighting experiment is one of the most important part after modeling. I will be using V-RAY rectangular light and IES lighting.
- Geographical Location on this particular tutorial was set to Bangkok, Thailand.
For
render testing with lighting. Use
Clay Rendering Set-up. Click Override material with RGB color of 150,150,150.
- Vray rectangular lights were places outside the windows. The Vray rectangular light in front will be the main light source, while the one on the side will be the secondary light source.
- Here is the set up of the main light. The size is bigger and yet I will put the intensty @2 with light blue color. Set as invisible.
- Here is the set up of the secondary light on the side with rather orange color. Again set as invisible.
- Under the Environment Roll out, both GI and BG color were ticked. I am using TextSky Map For the GI while HDR for the BG.
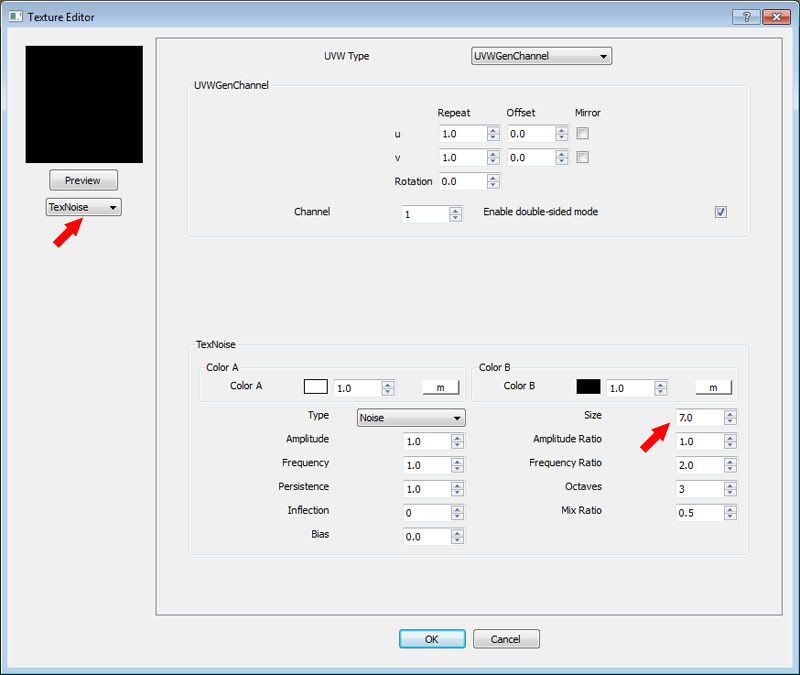
- Below are my setting for the Text Sky Map for my GI color. In order to achieve soft shadows, I increased the size to 5.0 while the intensity was set to 0.1. The rest are fine.
- Here is the HDRI map from www.openfootage.net. I will be using this for my BG map slot.
- Here is the setting for my BG Map. It was set as Spherical. The HDRI file above was loaded under File slot.
3. CAMERA
I used V-RAY Physical Camera. Shutter speed@ 200, F-stop is 1.4 and ISO at 100. Camera DOF is on with Overide Focal Dist @12 (see next images why I used 12 here)
To Find the Focus Point, download the Plugin script "
Advanced Camera Tools"
1. Go to Advanced Camera Tool (see image below)
2. Create Camera
3. Name the camera and click ok
4. Lock the camera
Now you will have the camera icon in SketchUP (see the image below). Now measure the distance from the focus point to the lens of the camera icon. Here, the measurement is 12 inches. THIS IS THE NUMBER I ENTERED IN OVERRIDE FOCAL DISTANCE IN THE VRAY PHYSICAL CAMERA.
Note: Vray units in DOF is measured in inches. If you are using meters, be sure to convert this in inches.
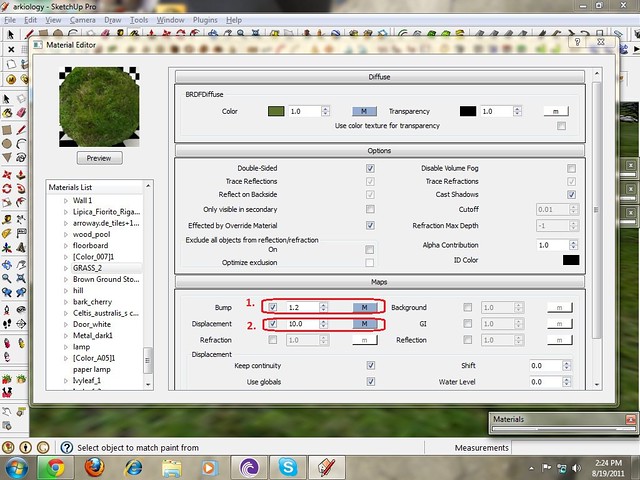
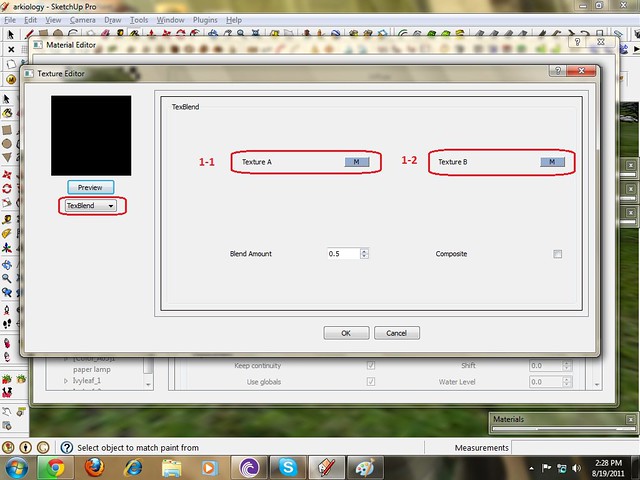
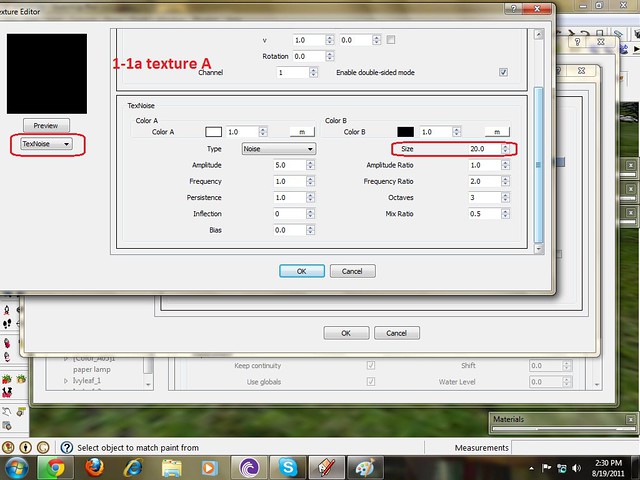
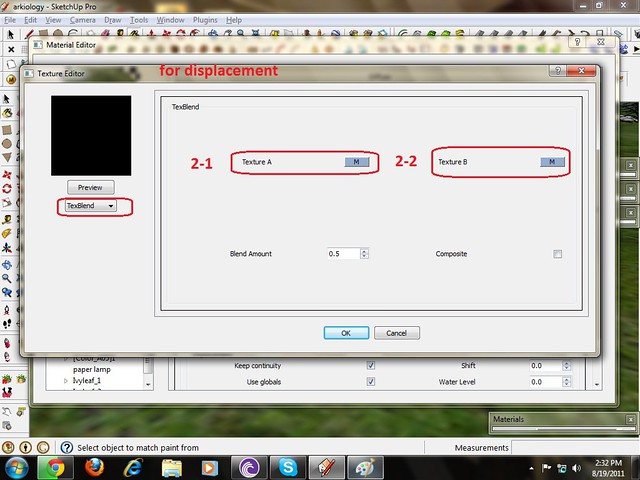
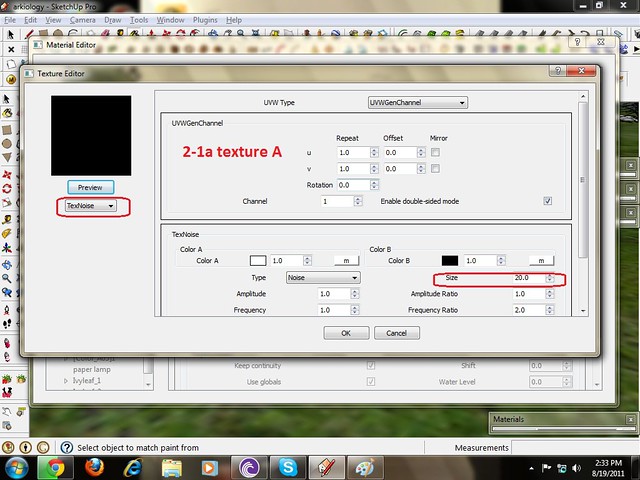
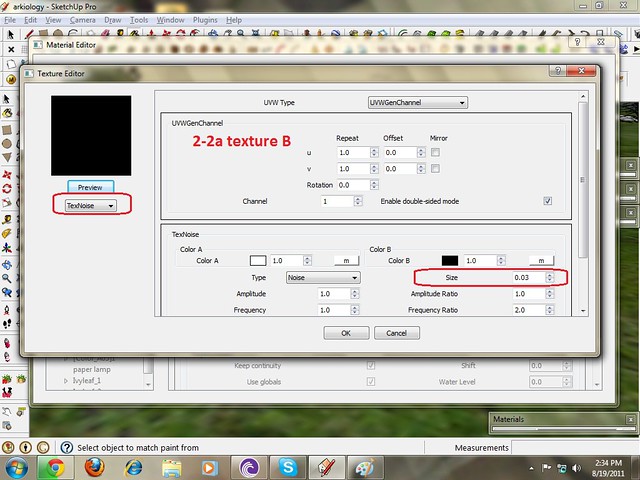
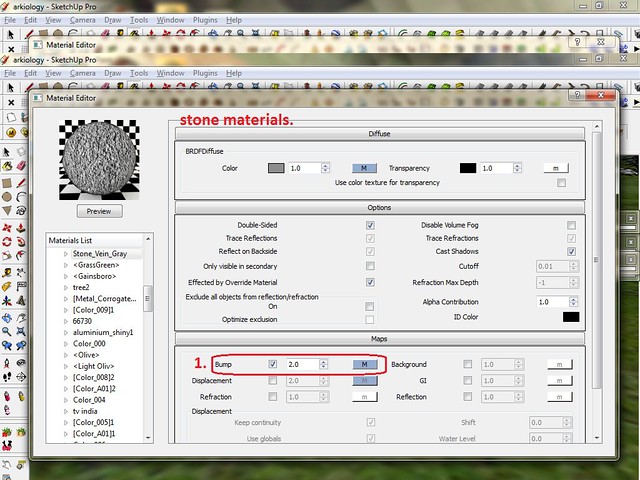
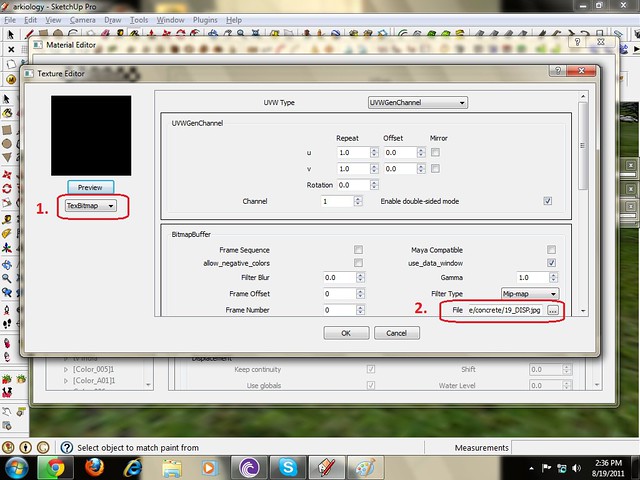
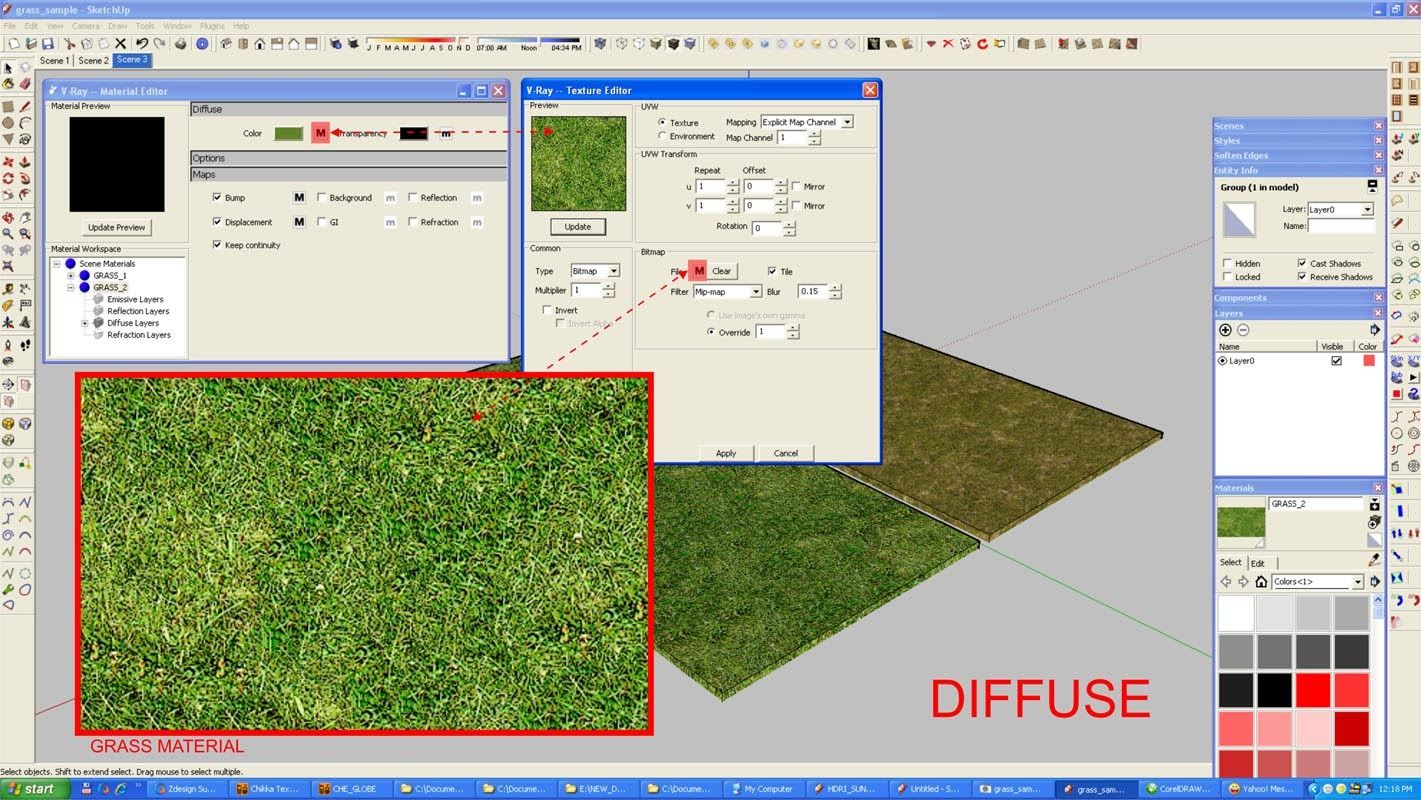
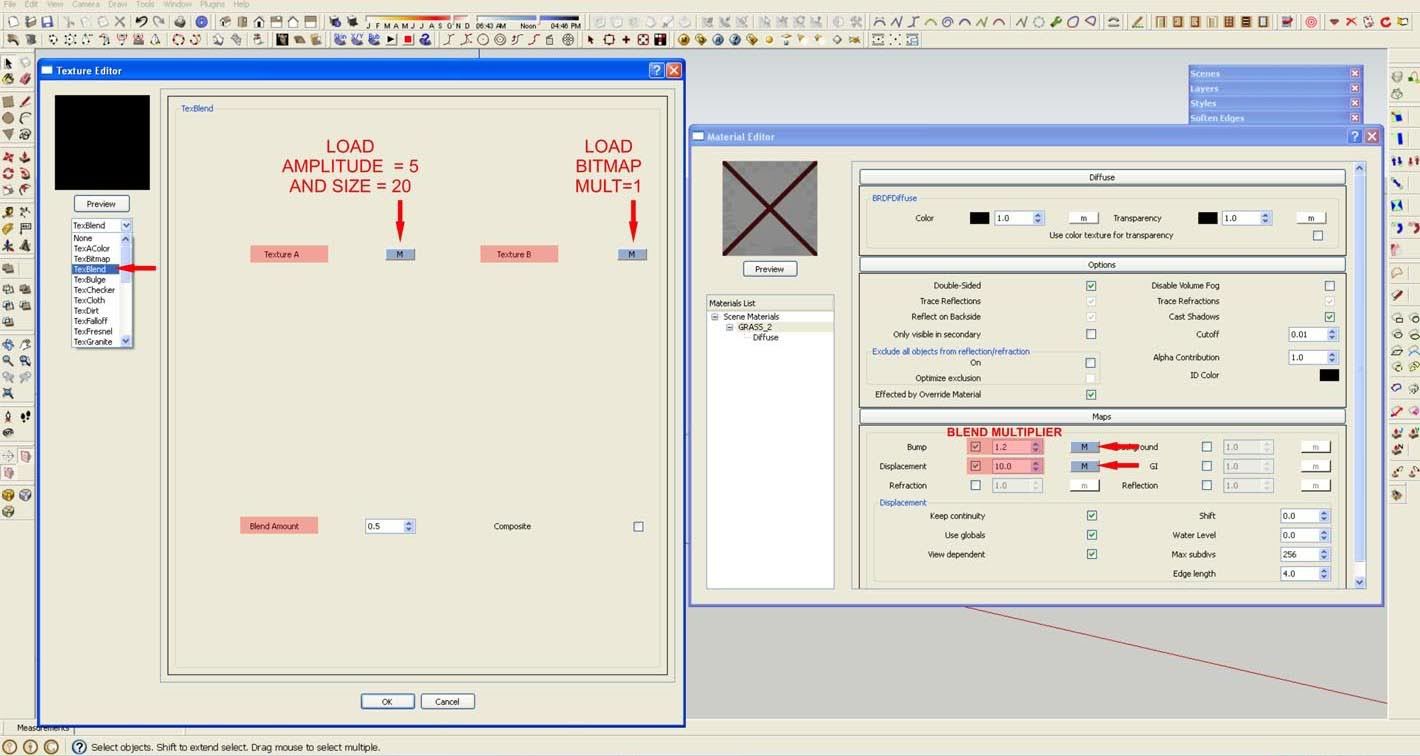
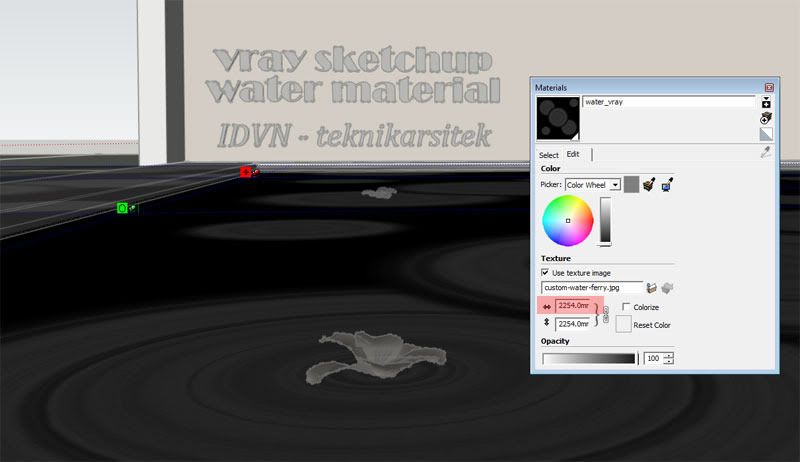
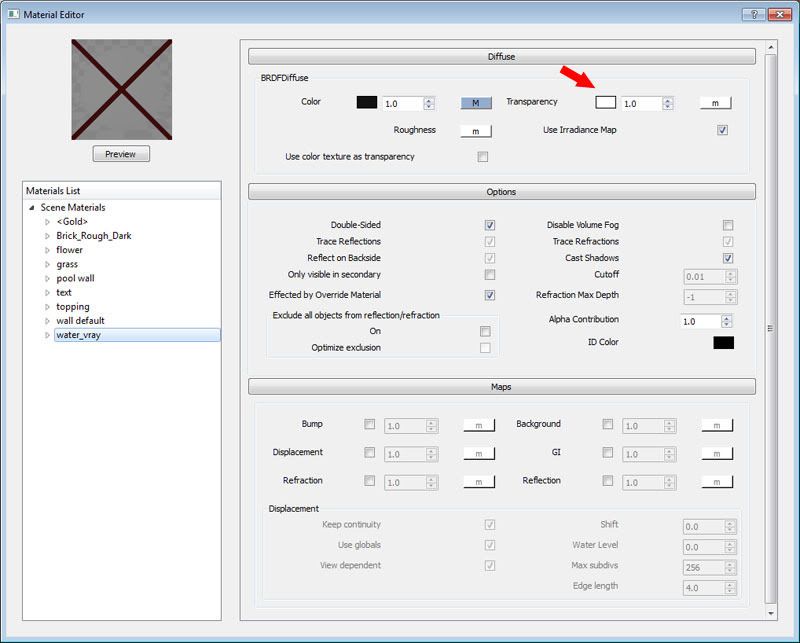
4. MATERIALS
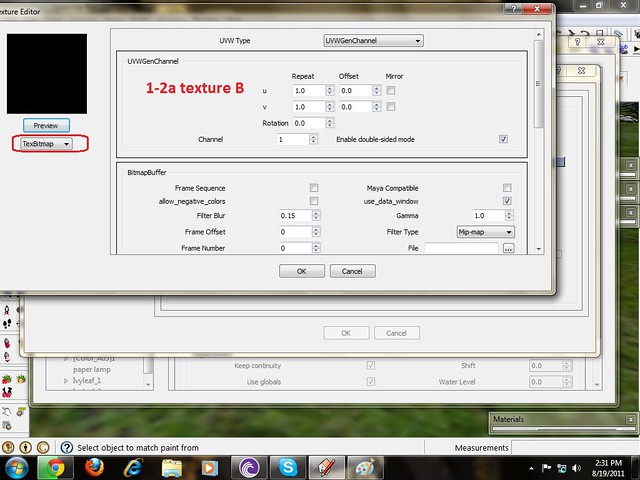
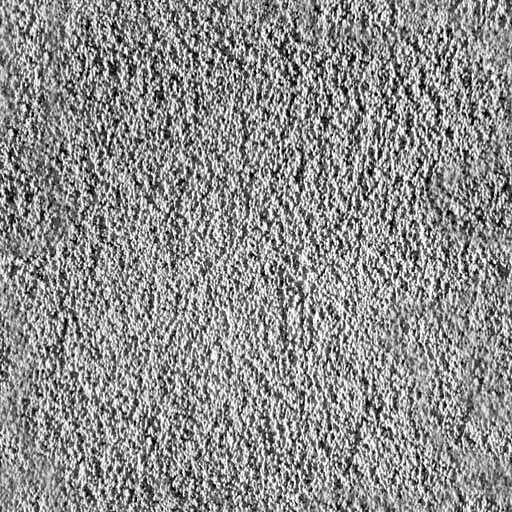
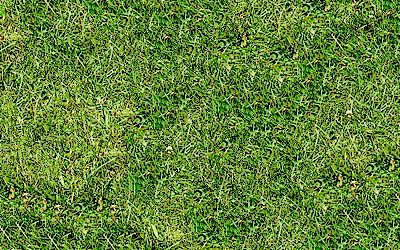
Stainless. The below map was used
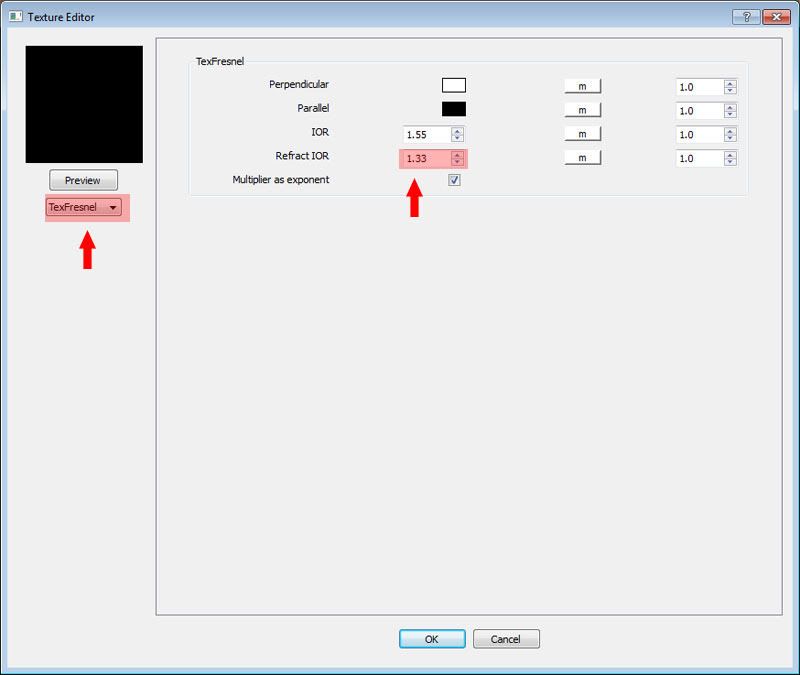
Refletion:
1. Use Fesnel map. Here is the Fresnel map setting.
2. Use medium gray color (see Filter color)
Height glossiness is 0.6 and Reflection glossiness is 0.8. For smooth result I increased the subdivision to 22.
3. I will be only using the diffuse map at 0.4 (load the stainless map)
Filter color. I used RGB value of 195, 195, 195
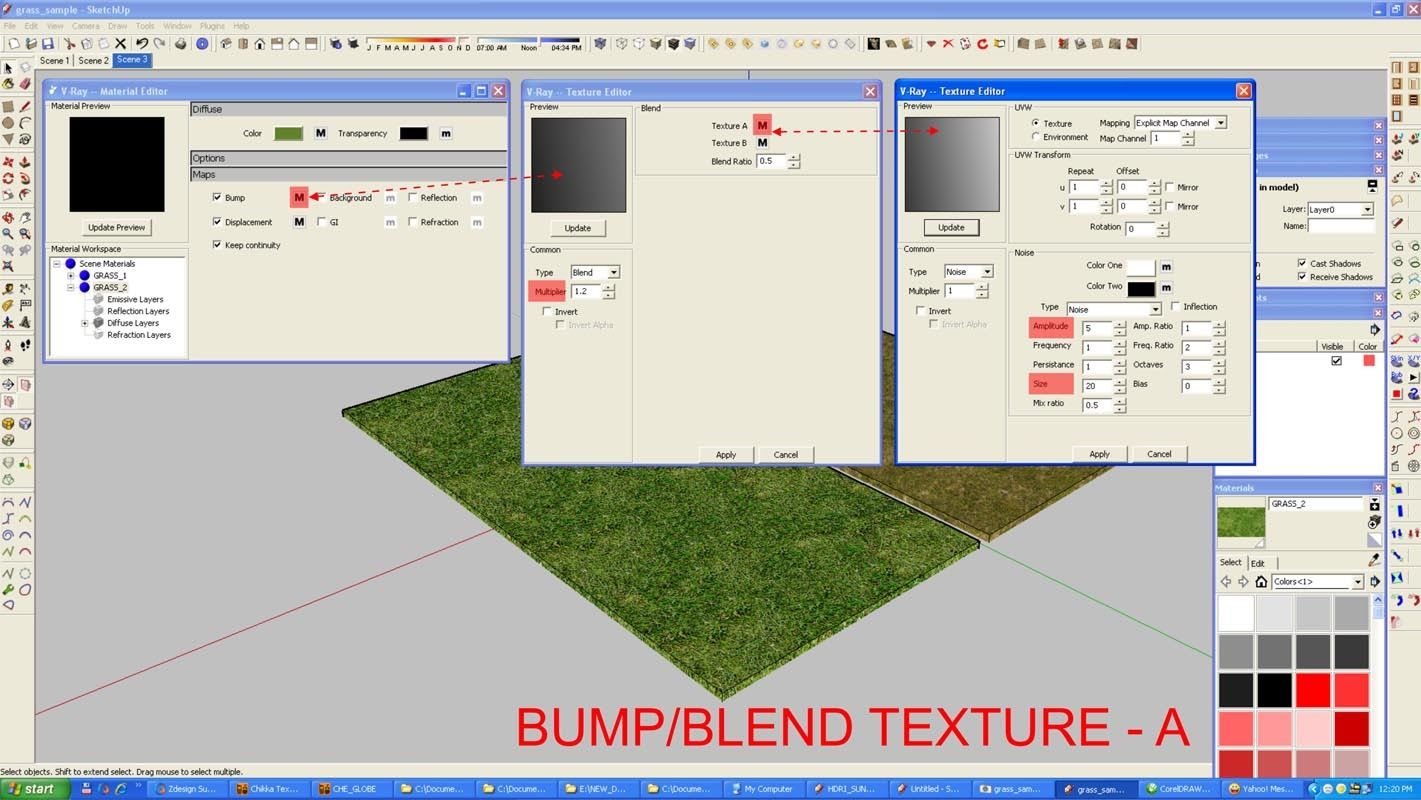
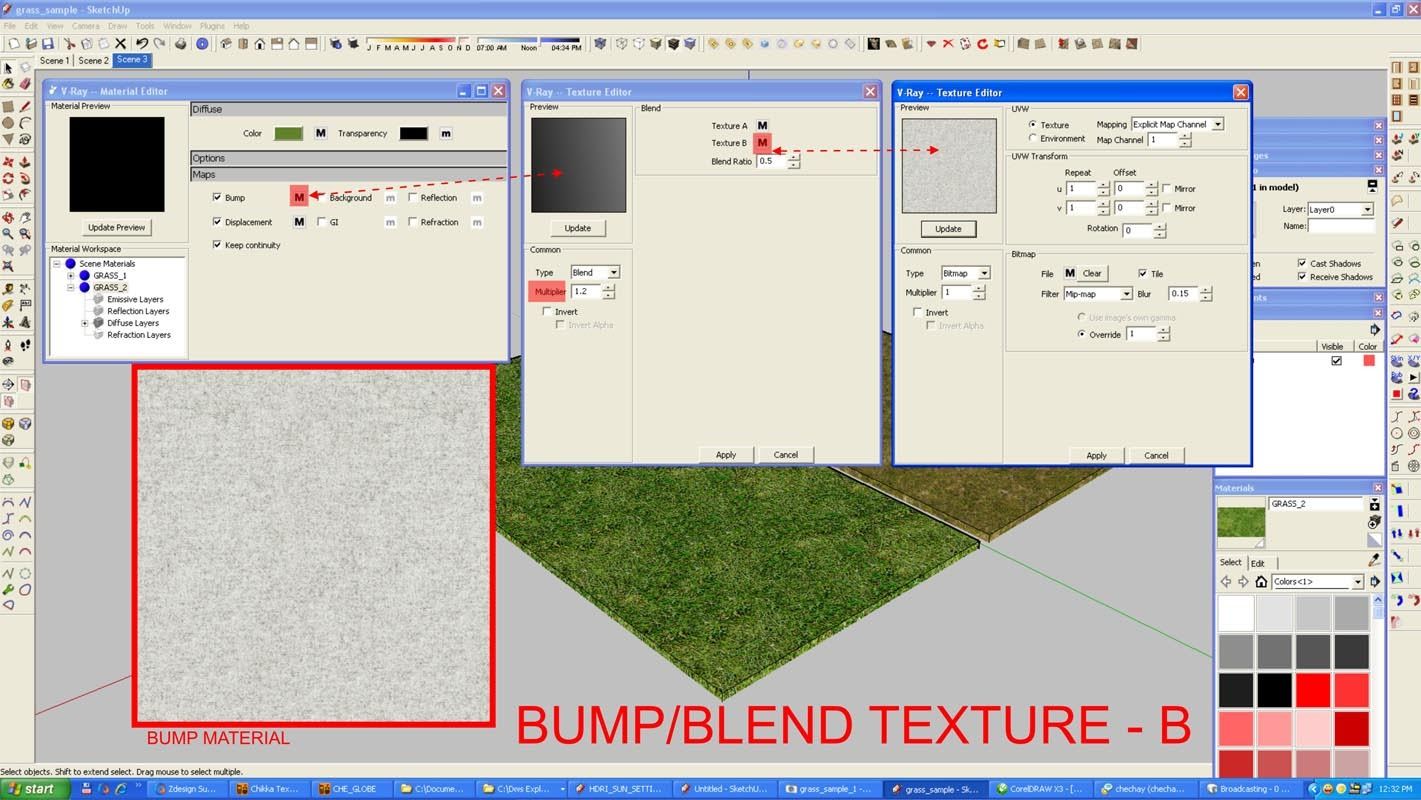
Bump map. I use the same map diffuse map for the bump slot, but making the value from 1 to 0.02 only.
5. VRAY Settings
Image sampler Setting
DMC Sampler Setting
Color Mapping Setting
Global Illumination Setting
Irradiance Map Setting
Finally here is the comparison between the Sketchup view and the rendered seting.