COPYRIGHT

All resources offered by this blogsite are shared by the authors themselves. Some of them were rewritten with permission and some were collected throughout the internet and exchanged between peers for personal study. Use of any resources offered for commercial purposes is prohibited. Otherwise you need to responsible for any consequences produced! Any profitable behavior of utilizing the resources downloaded from this site is condemned and disdained sternly.

Some of the resources, and data here were shared by the authors freely and we don't have all the capacity to know, if the components, materials inside the scenes were copyright protected. If you feel some resources have infringed your copyright, please contact us. We will delete them as quickly as possible. We won't bear any legal responsibility for the resources. Thanks.

Custom Search

Custom Search

Welcome to SketchUp, Vray and other Resources

Everyone is capable of learning. Learning is part of life. It is a social process of living and bringing everyone to share their inherited resources and discoveries. All of us can influence the life of others through sharing and caring. It is our belief that everyone should be a lifelong learner.

I am putting very important visualization resources and series: tutorials, tips, tricks, VRAY materials and settings, and mini-the-making (MTM) processes.

Yours,

Nomeradona

Tuesday 31 May 2011

Congratulations to Mark Edrian Nesperos

Evermotion Competition 2011 - winners announced

Congratulations for our friend and countrymen M.E. Nesperos for bagging third place "exterior" in the recent Evermotion 2011 competition. More details HERE.


  Other winners:


Ronen Bekerman Mini Challenge 3

Monday 30 May 2011

Tutorial: Converting a day scene with night scene using Photoshop

This tutorial has been shared to us by Arch.Arnel Canaleja of Eastern Visayas State University Tacloban City.

Tutorial Title: Converting a day scene with night scene using Photoshop
This tutorial is advanced technique to quickly create a night scene using an image rendered in day scene.

This is the Final Scene:


Ok Let's begin

Step 1: Removing the Sky background
Loading the Image in Photoshop and begin removing the background image (the sky background).


Step 2: Creating the Diffuse Layer
Create new layer and select all the positive space (the sky is the negative space). Once selected, fill it with color like the image below.

 Step3: Moving the reference image on the top layer

Send the diffuse layer at the back of reference image (perspective)
 Step 4: Linear burn blending mode
Change the blending mode of the top layer into Linear burn
 Step 5: The Light layer
Create a new layer. This will be the light layer. Choose a light yellowish color. This color will become the illuminated lighting in the scene.


Step 6: Painting the illuminated light source. 
First, you need to put below the reference image(perspective), the"LIGHT" layer. Apply the illuminate light effect using a soft brush. You can also use the "lasso" or "rectangle marquee" tool (with feathering), to control the area where you want to apply the lighting effect. With the same techniques you can now create different layers of "LIGHTING" as needed.. You can also "blur" the other lighting layers to make it more realistic especially for the pinlights, car lights, etc.
Step7: Recreating the Background Sky
Create a new layer for your "SKY"background. Use the brush tool, or gradient tool or by pasting some night scene background (see the layer highlighted in RED).

Note:
Be sure that your sky image will not intersect with your first image (Perspective) As it will affect the color of your perspective since it is in LINEAR BURN mode.


Step 8: Windows and other openings.
For the glazings, glass windows and openings, You can copy paste some image from photos: You can also add store fronts, signage, cars, and other entourages. Of course this will vary from your choice, judgment and
creativeness.

Some useful keyboard shortcuts for this tutorial.

  • . Create new layer= CNTRL+SHFT+N
  •   Image size= CNTRL+ALT+I
  •   Creating new file= CNTRL+ALT+N
  •   Copying an Object = click "MOVE" icon, then press / hold ALT key then (left click) drag the mouse
  •   Send a particular layer at the back (one step back) = CNTRL+[
  •   Send a particular layer at the back (at the very bottom of the layer order) =   SHFT+CNTRL+[
  •   Send a particular layer above the stack (one step forward)  = CNTRL+]
  •  Send a particular layer above the top stack  = SHFT+CNTRL+]
  •   Keyboard shortcuts menu = CNTRL+SHFT+ALT+M
That all Folks!

Arch.Arnel Canaleja aka. Arc_Can_EVSU
Eastern Visayas State University Tacloban City

Sunday 29 May 2011

Cool Tip: Putting background in Sketchup and Vray


This is a cool tip from Razid Viñas Maminggen. This is how to quickly put a backplate background in SketchUp. He added if you want this backplate to render in Vray all you have to do is to place it nicely in the camera view and explode the texture.

SketchupArtists

SketchUpArtists.org introduced to their readers this site. Were just one month old and yet we're very happy on the support of the SketchUp community.
Thank you SketchUp Artists Daily Dispatch

Saturday 28 May 2011

Parody of my going back to the village.

I must say I like the parody of this Image which I have done in SketchUp 3 years ago, rendered in podium..

Friday 27 May 2011

Visualiser on the Spot: Afanasiev Ithil Anton

The works of Afanasiev Ithil Anton aka "Ithil" at are excellent example of maximizing the use of SketchUp as modelling software. He model his work in SketchUp and use 3dMax thereafter.

Here are some of his popular works.


More of Ithil's work at his deviantart album HERE

HERE is a Youtube Embedded videos showing how he does it.


Here are some SketchUp Scenes:


Thursday 26 May 2011

Allanx's Watercolor using SketchUp and Fotosketcher

Allanx has shared this at cgpinoy.org done in sketchup and fotosketcher

Wednesday 25 May 2011

Render to VRImage

Here is an excellent tutorial from Fernando Rentas of Asgvis. A must see video if you are planning to render high resolution. This is the same what I did with my Sponza virtual reality.

Tuesday 24 May 2011

SketchUp and Blender

SketchUpartists.org released this tutorial of Jean-Pierre Hurel (aka Orgelf) in the Sketchucation community. Check it out HERE.

Monday 23 May 2011

Featured Visualizer: Jhan Philip Co

Jhan Philip Co is a budding visualizer and architect from the Philippines. His visualization projects range from housing to resorts, from golf courses to office towers, and from shopping malls to mixed media. Jhan has completed many visualization works from UAE, Philippines, Kyrgyztan. He creatively used entourages to bring the viewers to the space he is trying to visualize. Recently he shared at 
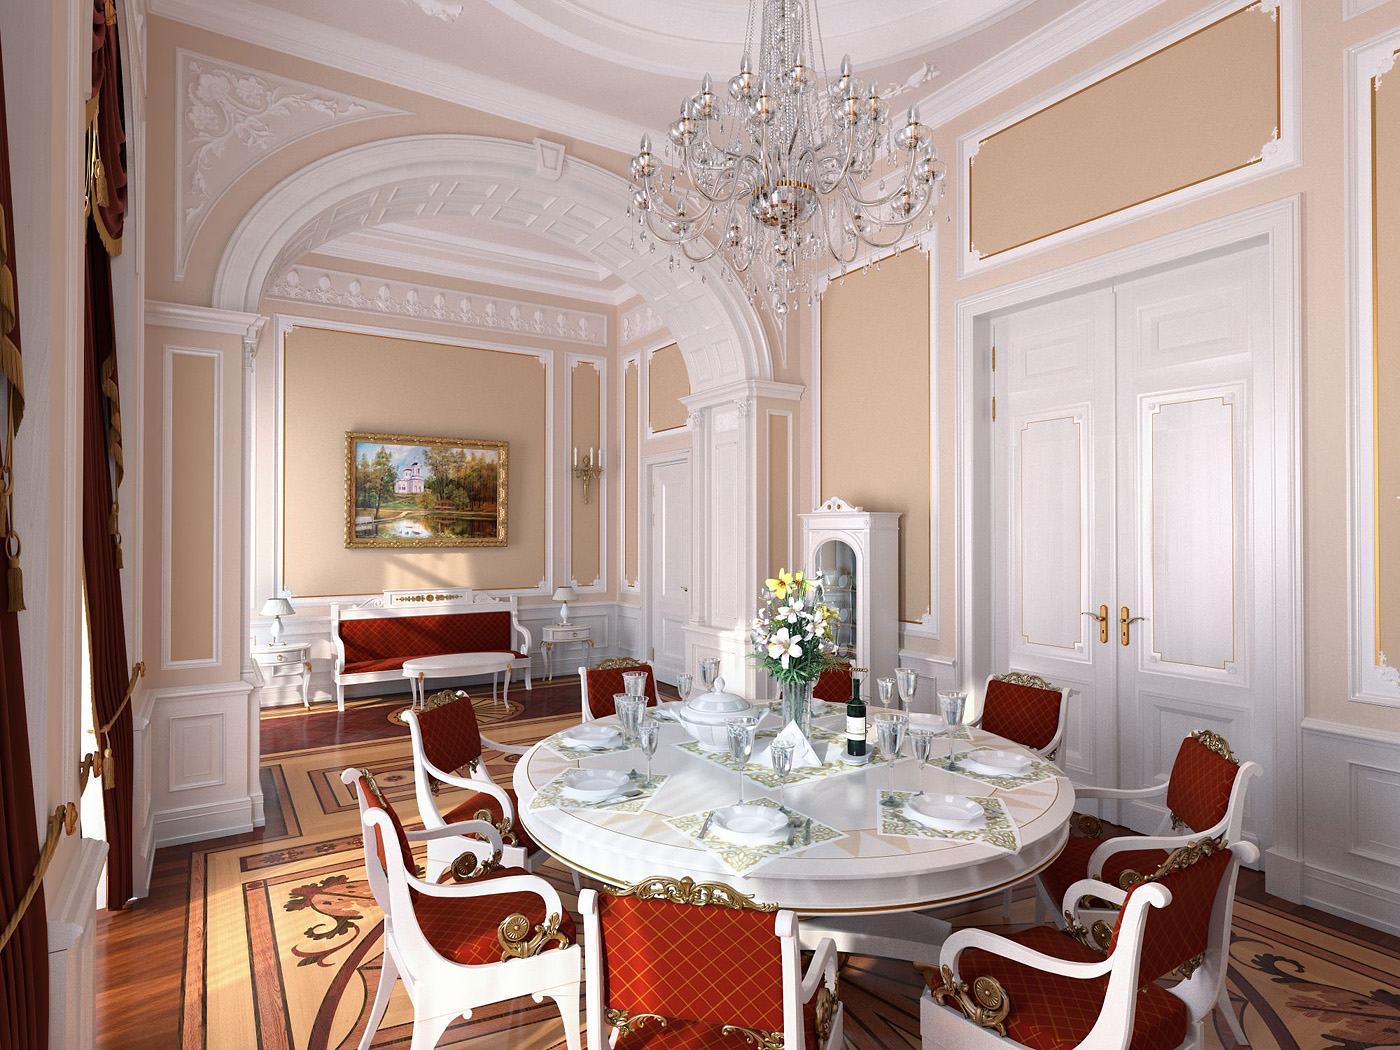
CGPinoy.org were he shared to us one of his latest work which was modeled in SketchUp and rendered in VrayMax.

Photobucket

Photobucket

Photobucket

Photobucket

A special thanks to Jhan Philip for allowing SketchUp and Vray Resources to interview him:

Can you explain your workflow in including Google SketchUp in your visualization?

Whether I am designing or doing 3D visualization, I always sketch first before touching my computer. Aside from that, I make it a point to think about the process that I am about to go through. It is like planning ahead before doing anything, or let’s say it is like a battle plan. A lot of 3D visualizers nowadays skip this process because they thought that technology will take care of it. By this process, you will have a clear idea on how you will deal with the workload and for me this is one of the most crucial processes. Given the tools, techniques, skills and styles that you have, you can weigh if you will able to meet the deadline and the expectation of the client.

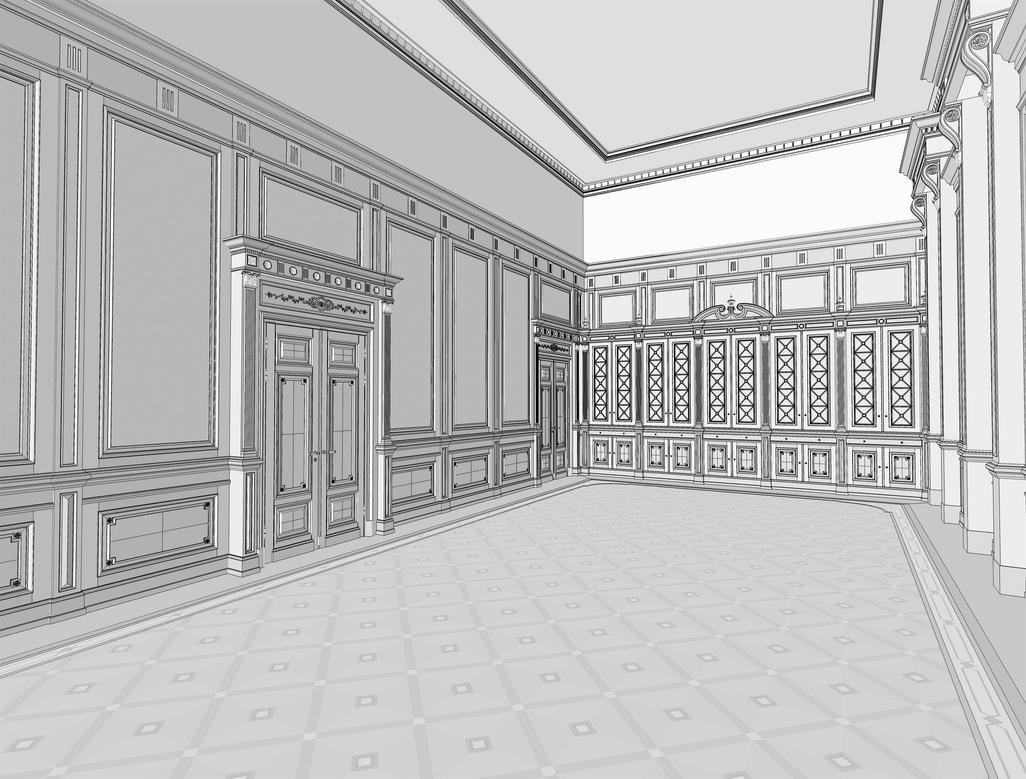
After the paper and pencil, now is the time to use SketchUp. There are usually two steps that I make in Sketchup. First is massing study and second is putting up details. Massing studies let me chose my camera angle well and how I tweak the camera as I go along while generating more details in my model. I make almost all my models in SketchUp, except for the entourage and some very complex geometry. By using SketchUp, I am putting myself into a more accurate interpretation of the project. Plug-ins and Ruby scripts make my modeling easier and the best thing about it is that most of them are free.

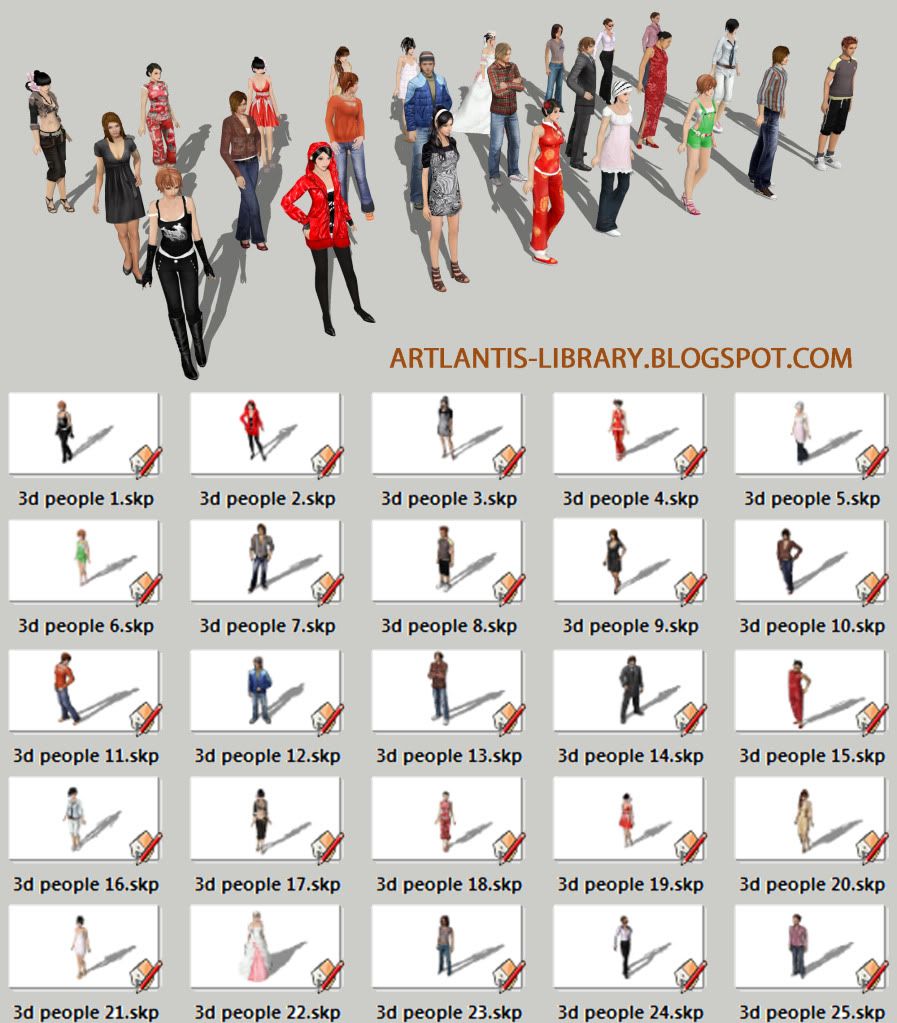
When modeling is done, I import my SKP files to 3ds Max. I put trees, furniture and other entourages with this software, except for the human figures which I usually do in post process. I find 3D human figures not so convincing. Final tweaking of the camera angle and model are done here also. I also experiment on the ambiance and mood too. Regardless of the design of the project, it is important for me to set the camera angle and mood to its best position and time so that it compliments to the model; thus making it look better. I use Vray as my render engine because it gives an excellent quality with short rendering time. I think this engine is best for architecture because it is simple to setup, flexible and very efficient. If the project is big and I foresee many revisions, I render couple of layers so that I can have better control.

Finally, post processing is made in Photoshop. Lens flare, adjustments of contrast ,and color balance  are made here. Sometimes, if I find that a 3D entourage doesn’t look real, I just put cut-out images using Photoshop; such as trees, water shore, and people. Developing your skill in Photoshop will definitely make your work faster, and it will give you more flexibility especially when there are a lot of revisions.

What is your favorite project you’ve designed and visualise, and why is it your favorite?

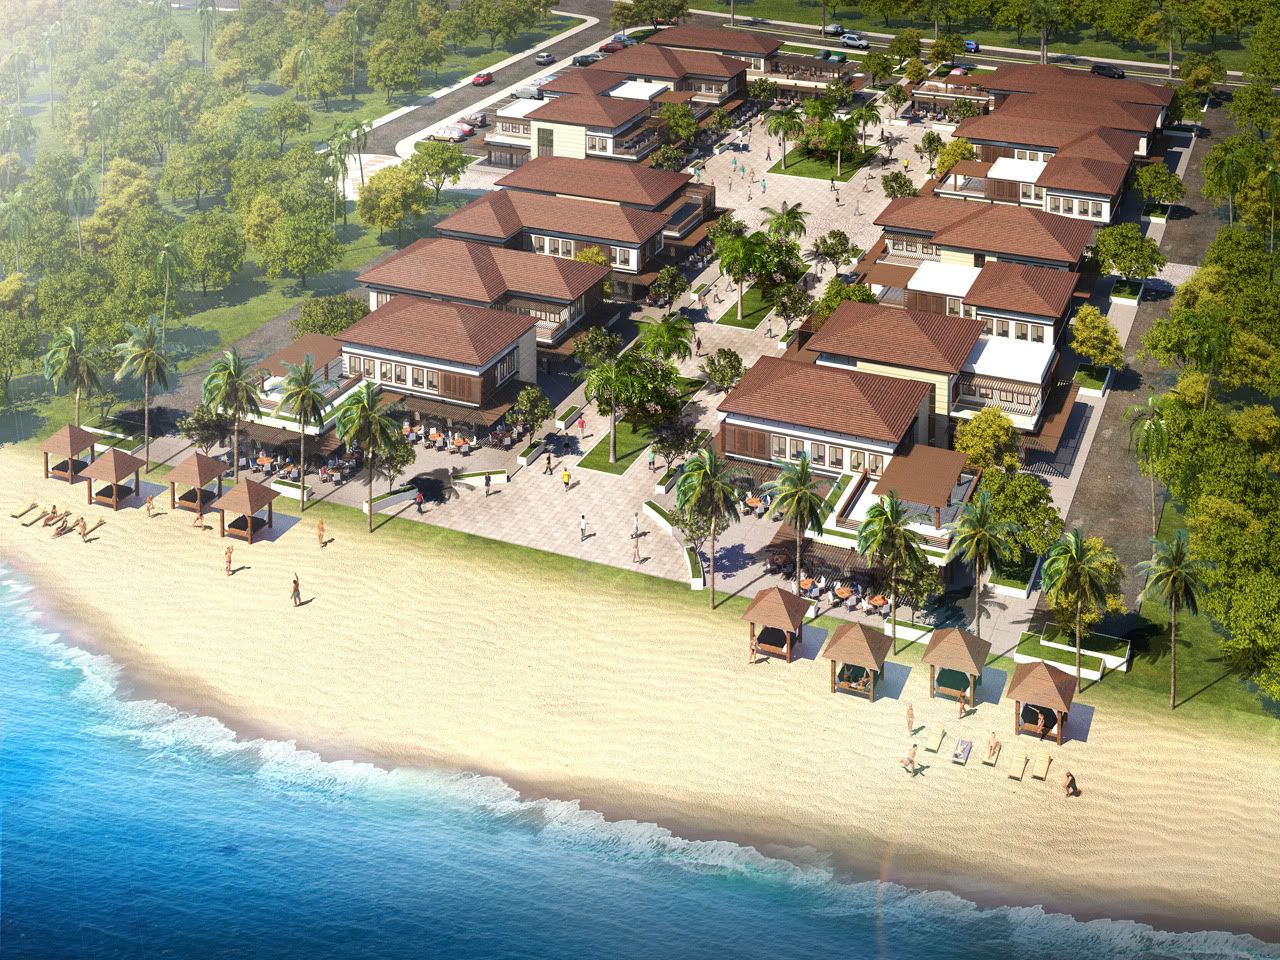
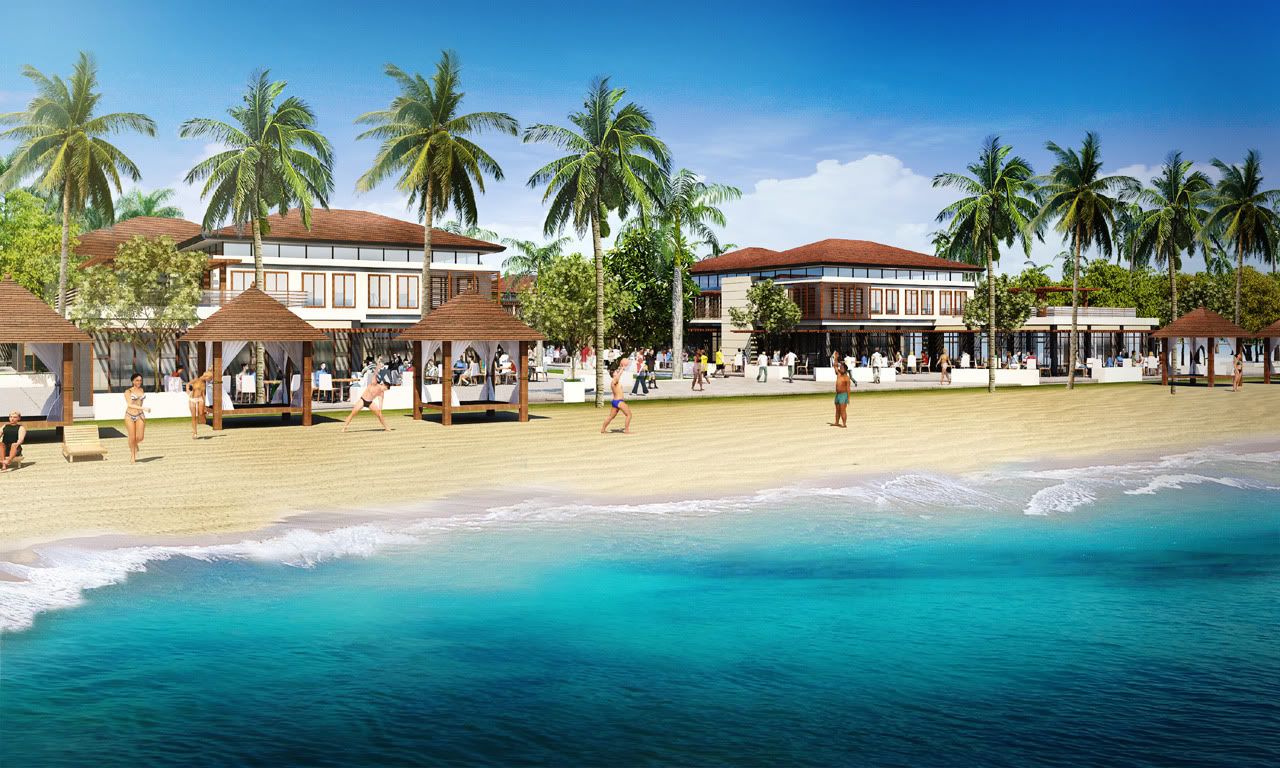
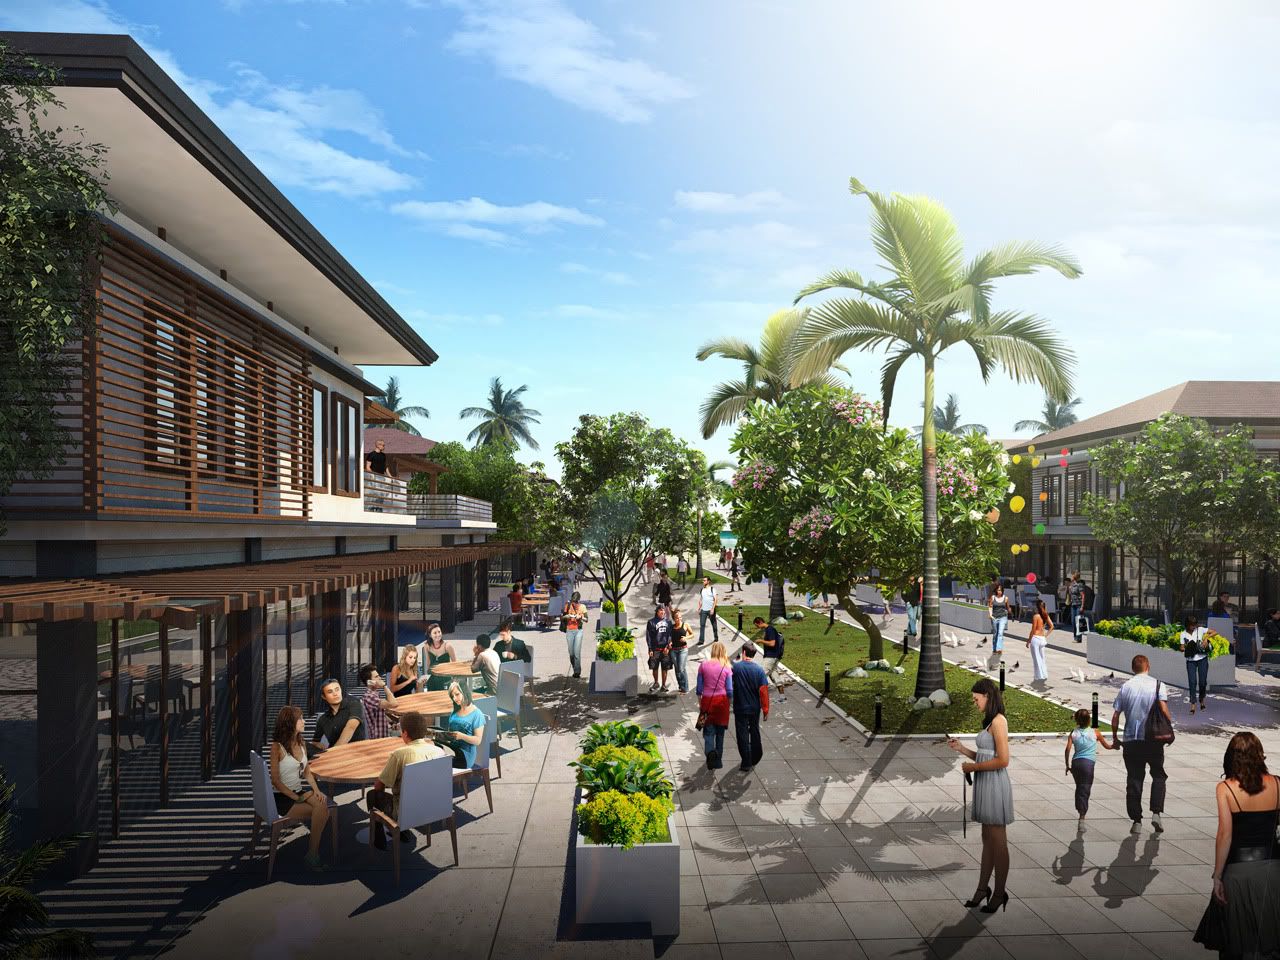
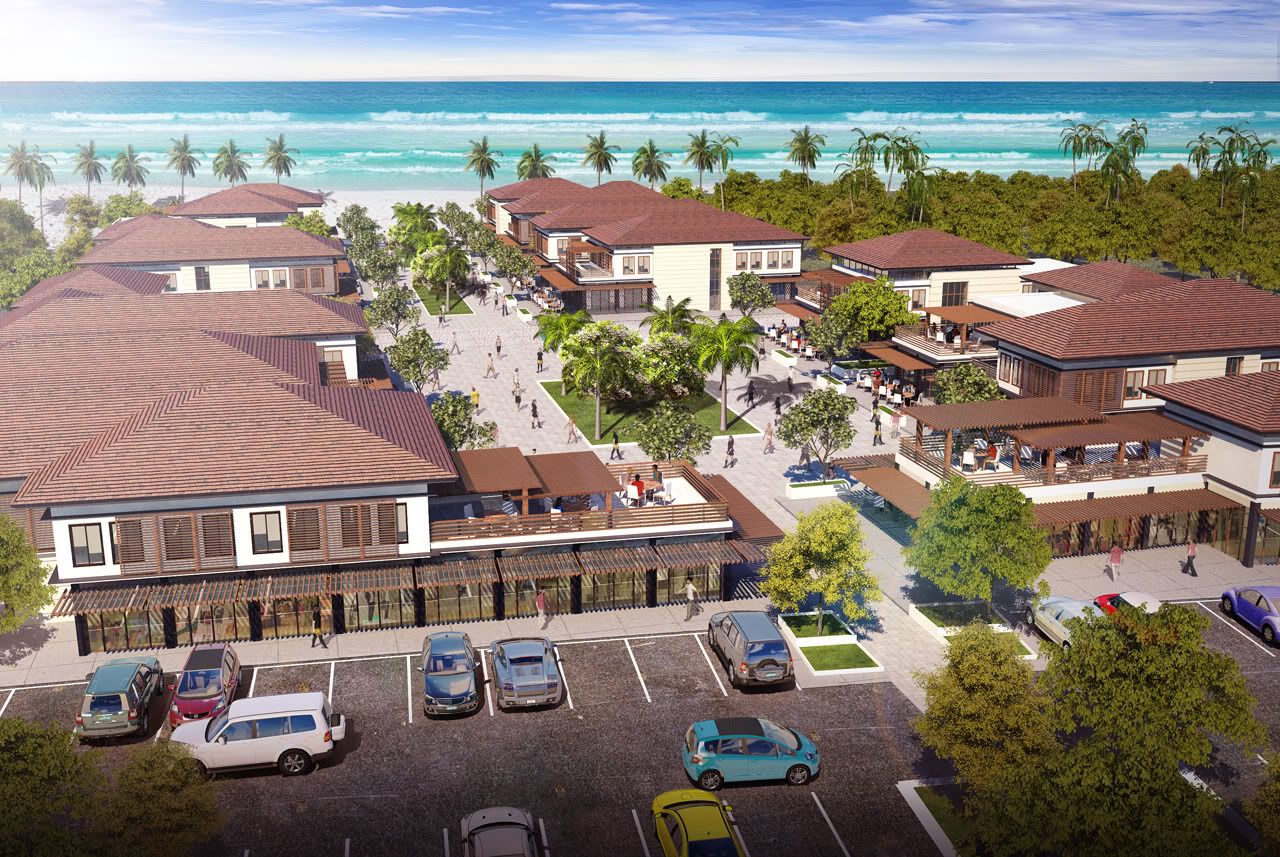
Every project is different from one another that is why I consider them all special. However my favorite project is the one I did in Indonesia, PIK Mixed Used Development. I worked on it with Cadiz International Design. Cadiz gave enough freedom in designing the project and presented it the way that I envisioned it. The size of the project is perfect, not too big nor too small. This is when I felt that I gave the client what they really needed. Although it is not the best rendering that I did, I feel that the design and the presentation as a whole represents an image that portraits me as an architect.


 ~PIK Mixed-used Development, Indonesia by Jhan Philip Co  aka "Chobs"


What or who inspires you in visualization?

Ronen Bekerman and Peter Guthrie are some of the people that I inspire in my 3D Visualization. Scott Lockard also inspires me with his works in mixing the traditional and 3D rendering. A lot of artists and photographers inspire me with their works because they usually look at things in a different way and translate it into something beautiful.

Do you have any special advise to other artists?


I always believe that the basic principles of art can’t be replaced by technology. The artistic flare of a person doesn’t come from any software or any technological tools. These are just tools that will aid us and should not restrict us in our vision. Keeping an open mind and widening our imagination will help us to be a better artist and 3D Visualizers.


Thank you very much Jhan!

For more information abour Jhan and his work visit: http://shownd.com/jhanphillipco

Nomeradona

Saturday 21 May 2011

Alex Roman using SketchUp

Alex Roman , a very famous and re-known visualizer, creator of the famous the third and the seventh movie which was branded as manmade vs nature. Here is the movie uploaded in Vimeo:


The Third & The Seventh from Alex Roman on Vimeo.

Now, I want you to take of some still of Phillips Exeter Academy.


Did you know that the original model was taken from 3DWarehouse and modelled in Sketchup?

Here is the download link of Phillips Exeter Academy in Google Sketchup.

And Here is the Video of the making of Exeter as part of the CG movie the Third and the Seventh

Exeter Shot -- Making Of from Alex Roman on Vimeo.


Kahn's Exeter Short Film from Alex Roman on Vimeo.

Friday 20 May 2011

Create Background With Google SketchUp, Adobe Photoshop and the 3D Warehouse

studiomugenjohncel has created a very interesting tutorial for creating an illustrative background. I think its an excellent effect to create an interesting scene using different workflow.

a screen grab of the turorial


Here is the Tutorial Link

4D SketchUp

4D Virtual Builder for Google SketchUp. Excellent software for urban planning


Download SketchUp Components

This is a good download site for SketchUp components. Check it out.


Low poly Sketchup model. Can be rendered with Artlantis.
part 1 : http://www.fileserve.com/file/GeetDBs
part 2 : http://www.fileserve.com/file/gGuCRQG


Thursday 19 May 2011

Carpaint material in Vray SketchUp

Jonathan Ignas shared this carpaint material setting using Vray Sketchup. Thanks and credit to Jonathan on this beautiful material.


Wednesday 18 May 2011

Spherical background without using HDRI in Vray Sketchup

Dennis, aka proseduction has shared his workflow how to use images as background without using HDRI. Here is his workflow.

Denns' method:


Small explanation:

I placed a circle round my model and turns this in a cylinder. Then I deleted the planes of the cylinder. I made a plane that has the exact height as the cylinder. This is because when you apply the texture within the cylinder it will give you a small piece of the cylinder with the texture and not the whole cylinder.

Than i import the picture / panorama by file -> import -> jpg as texture and place this on the plane. The you can go to the pain bucket and apply the texture on the inside of the cylinder.

More of Dennis work in his site. HERE