

Another oldies but goodies tutorial. This one came from Eric Torio of www.cgpinoy.org
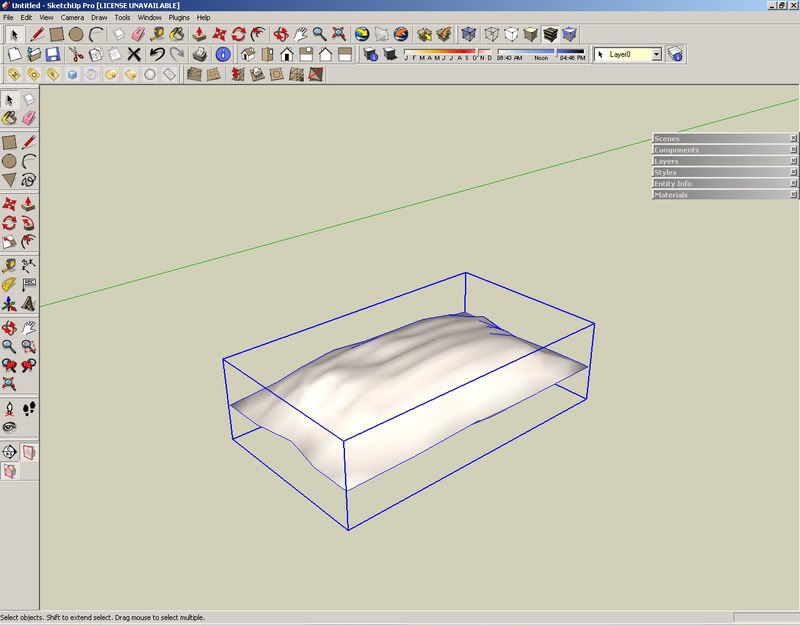
Step 1. Insert a pillow from this link click me
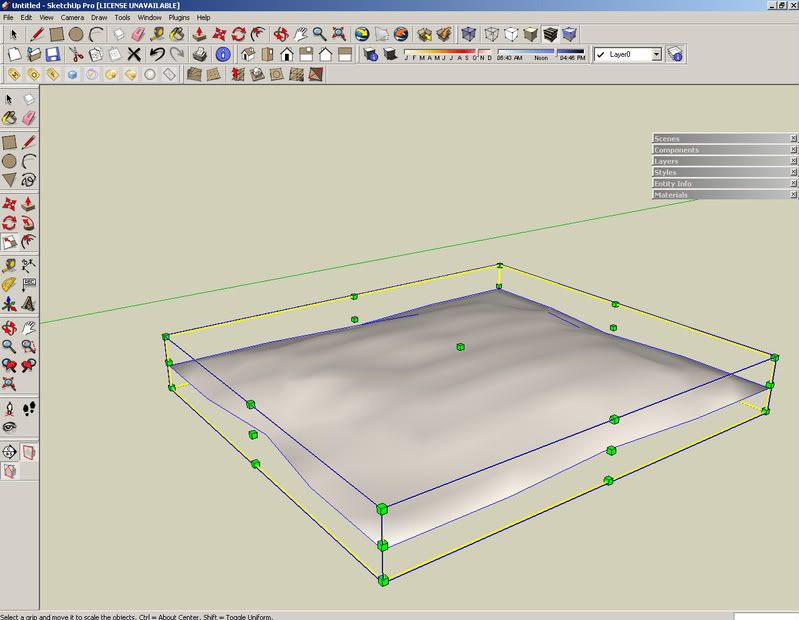
Step 2. Stretch those four edges for a carpet look
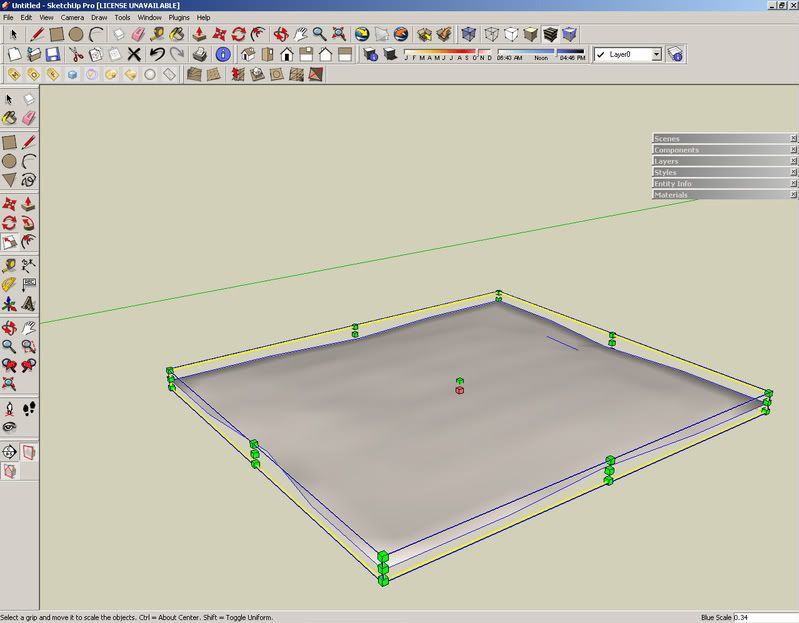
Step 3. Stretch down the height approximately 10mm high
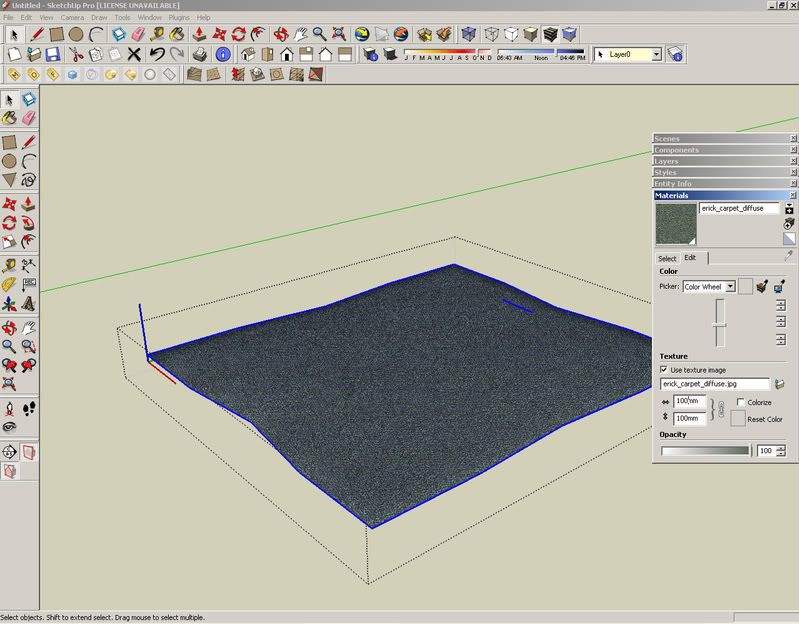
Step 4. Apply your favorite carpet diffuse material (texture position as your preference scale)
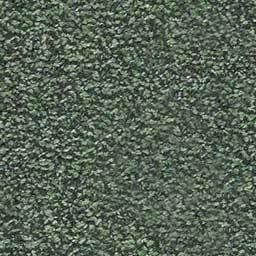
carpet diffuse map
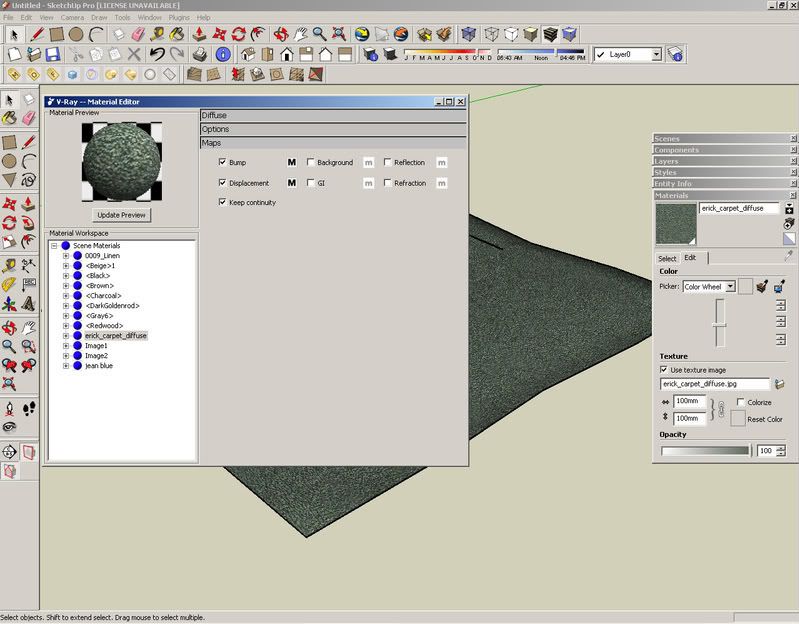
Step 5. Open the material editor, look for the linked carpet material and check bump and displacement
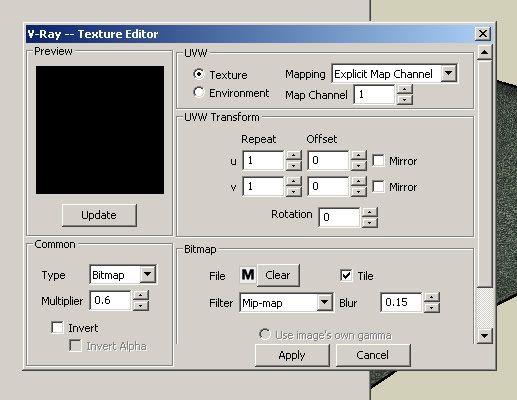
Step 6. Bump settings (multiplier = 0.6)
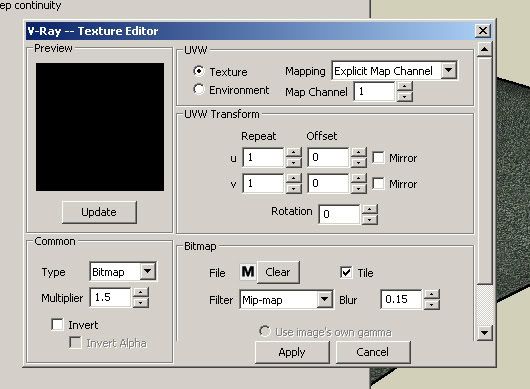
displacement settings (multiplier = 1.5)
bump/displacement map
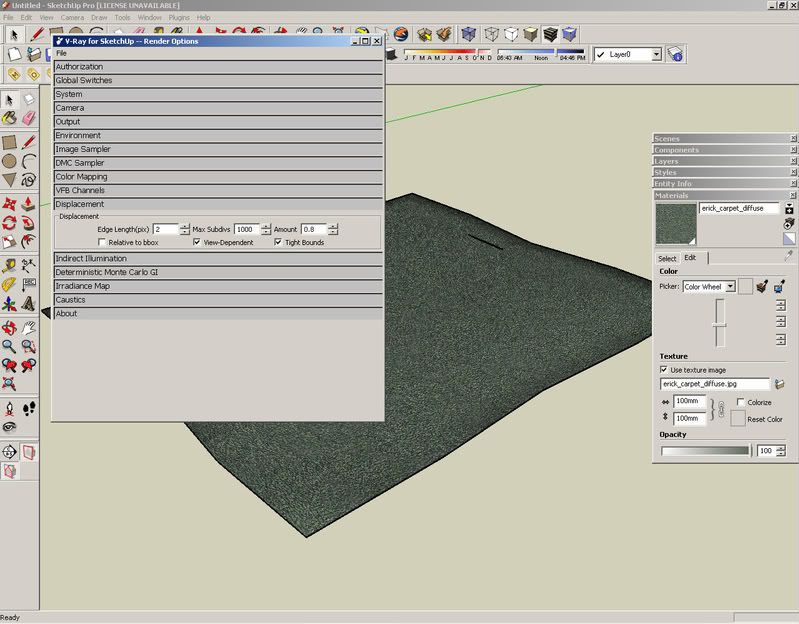
Step 7. Open the render options change the settings as per image shown (these settings where the real carpet will occur, the value 2 for the edge length (pix) should be the thickness of your carpet strands, the value 0.8 for the amount will be the length of carpet strands)
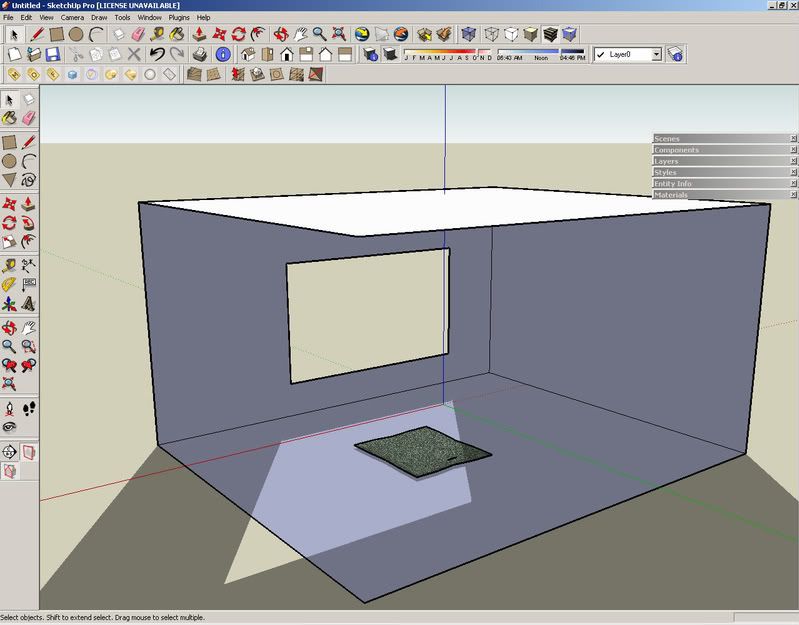
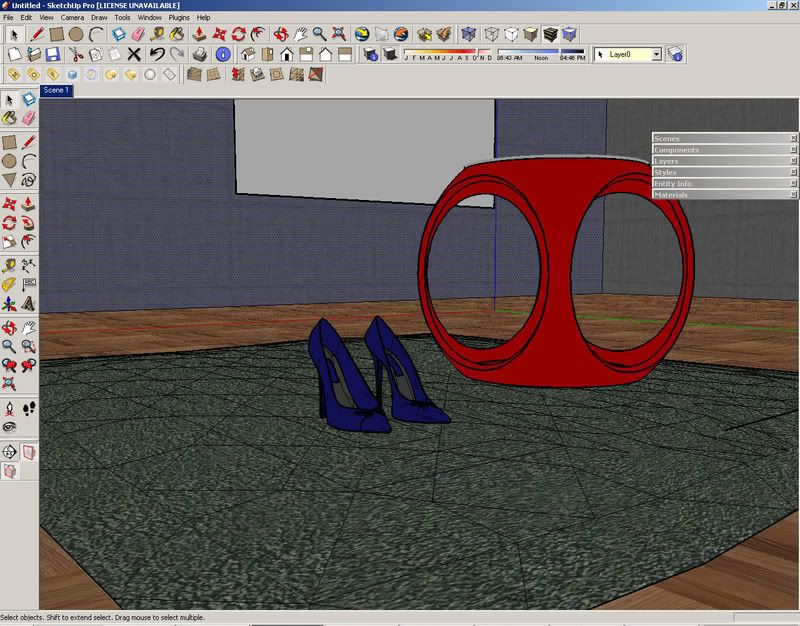
Step 8. I made a room for this tutorial
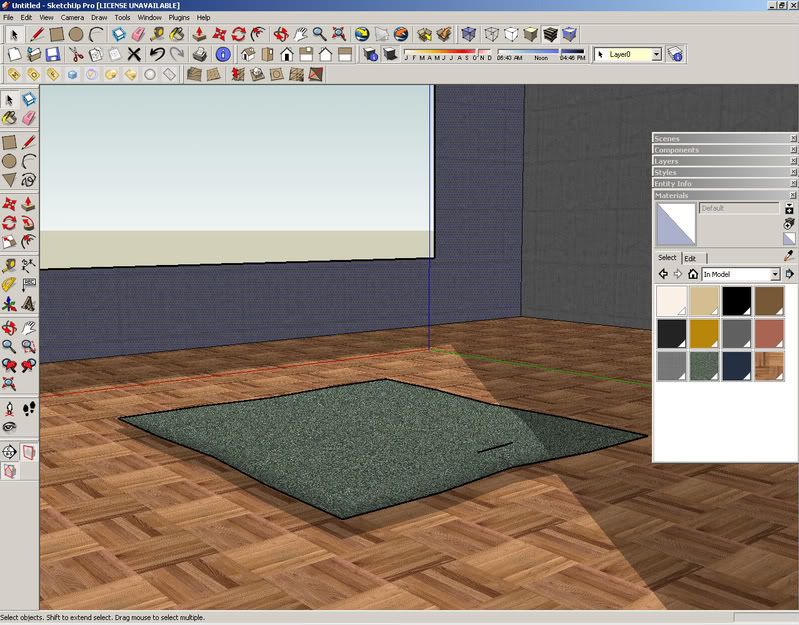
Step 9. Apply floor and wall material (interior lighting were set-up already at this point)
Step 10. Insert some components
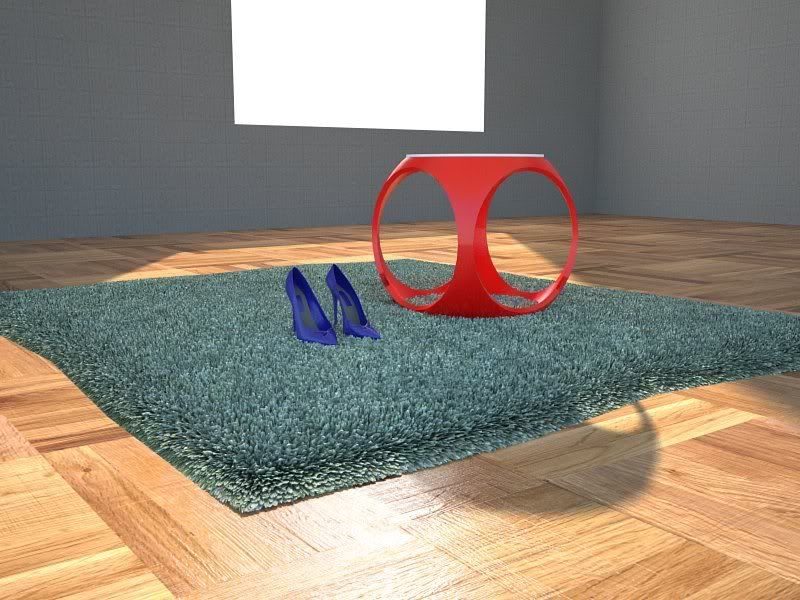
Finished product
Step 1. Insert a pillow from this link click me
Step 2. Stretch those four edges for a carpet look
Step 3. Stretch down the height approximately 10mm high
Step 4. Apply your favorite carpet diffuse material (texture position as your preference scale)
carpet diffuse map
Step 5. Open the material editor, look for the linked carpet material and check bump and displacement
Step 6. Bump settings (multiplier = 0.6)
displacement settings (multiplier = 1.5)
bump/displacement map
Step 7. Open the render options change the settings as per image shown (these settings where the real carpet will occur, the value 2 for the edge length (pix) should be the thickness of your carpet strands, the value 0.8 for the amount will be the length of carpet strands)
Step 8. I made a room for this tutorial
Step 9. Apply floor and wall material (interior lighting were set-up already at this point)
Step 10. Insert some components
Finished product
No comments:
Post a Comment