

I don't know how many of you have read my previous tutorial: Basic Vray Sketchup Tutorial Series No.3. In this tutorial, one of my main emphasis is knowledge with layering. My hope in this tutorial is you will have a good ground and good grip with VRAY material's layers.

As I have explained in this tutorial, these layers could be stacked together and the layer placements can have an impact to the material properties. This will be an advantage to those of you who use Photoshop or Gimp. Let me take this further to our next Advanced tutorial series. Let's start!
Step 1: Set-up
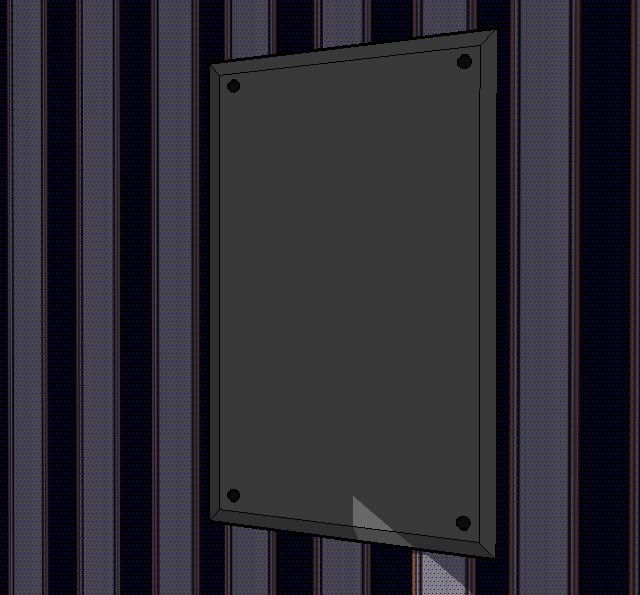
Let me use this mirror in my Basic Vray SketchUp Series.
Step 2: Create/rename VRAY Material
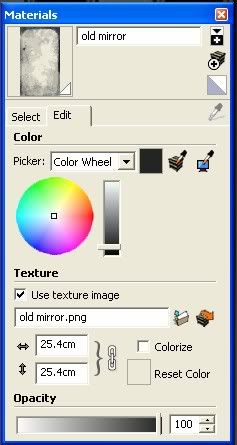
Select the Mirror material and go to Vray Material editor, rename your Vray Material.

Step 3: Create Reflection Layer

When you created reflection layer, VRAY will stack it on top of your Diffuse Layer. Notice also that the Reflection layer has no Map applied, therefore this is a perfect mirror material wit 100%reflective property.

Here is the render. The mirror material is showing.

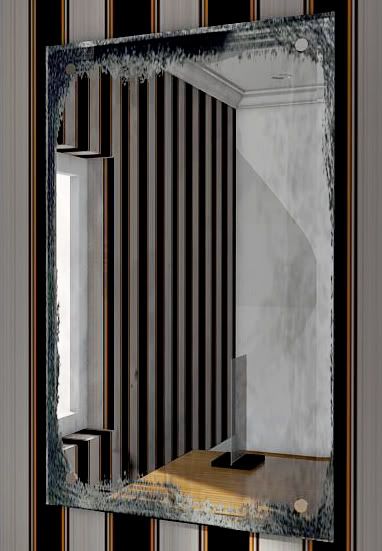
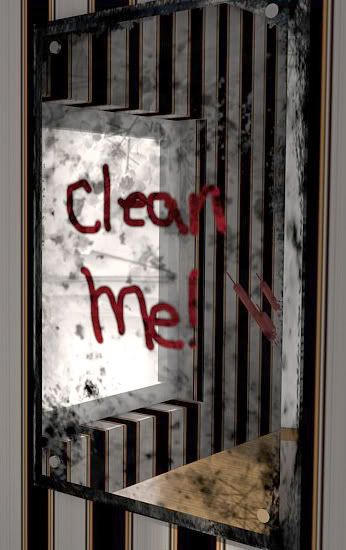
But now I want to achieve this type of material, I want the reflection to happen, but at the same time I need to put the dust, scratches, letters etc.

Step 4: Creating the Dust, scratch material in Photoshop (mask map)
I would like to thank Zernan Suarez aka Zdesign for this beautiful material which you can download HERE.
I will use this initial texture material and re-do it in Photoshop.
Here I loaded the material in Photoshop

Double click the Background in the Layer window tab and convert it to Layer 0 (or rename it to whatever name you like). Create a new layer (with transparent BG and place it below Layer 0

Go to Layer 0 and select color range (you can also use the magic wand). Select the white area and click OK.

Here is the selected layer.

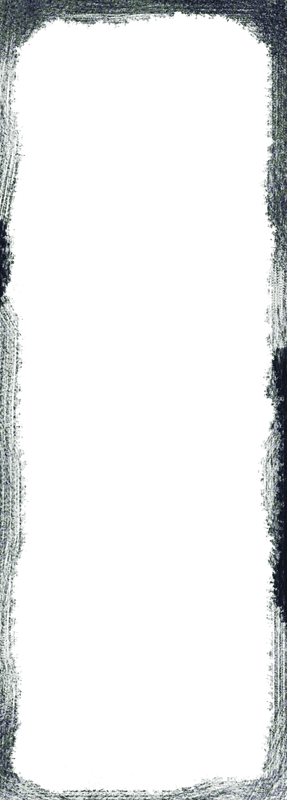
Press the DELETE button to delete the white areas. See the result below.

Now use grunge brushes, scratch brushes..You can download a lot of these brushes HERE or any other Photoshop brushes sites. I choose this Grunge spatter brush and loaded them in my Photoshop brushes root folder.

Use these brushes with low opacity and paint whatever effect you want.

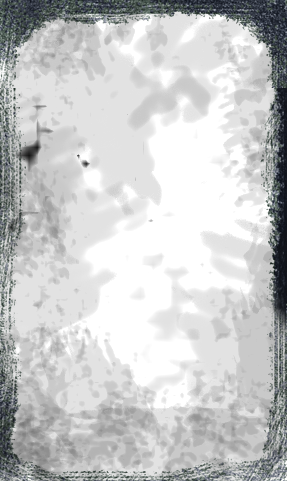
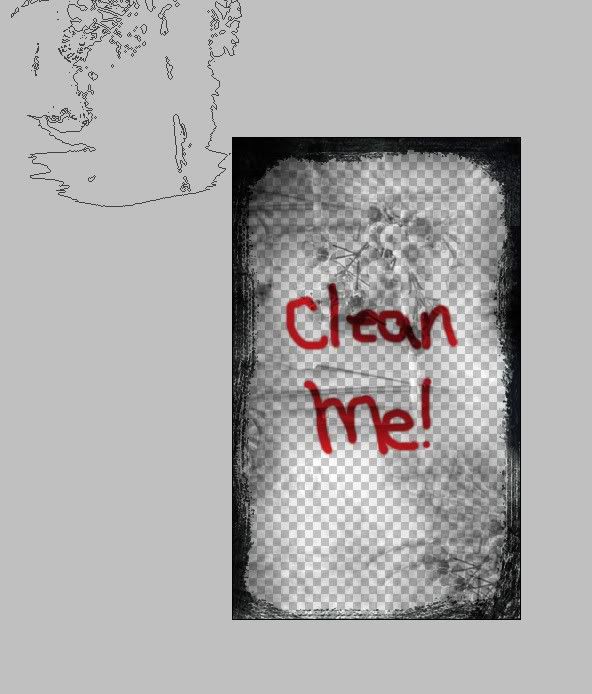
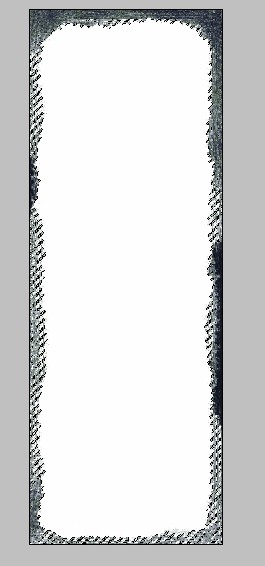
Here is my finished one. In this screen grab I put white Background to see the effect better. When you save this material be sure to remove the white background. I also re-sized the material for a better ratio with my mirror material in SketchUp. Be sure to save in PNG (to support transparency). You can also download the file below, this is the same map I used on this tutorial.
Step 5: Creating Second Diffuse material
At the moment you have these stack.. The reflection material over the diffuse material.
 Now let us create another diffuse layer.

Rename this layer as Mask Map

Now Here is your current stack.

Step 5: Mask Layer as top Layer
Move the Mask layer (the second diffuse material) on top of the Reflection Layer.

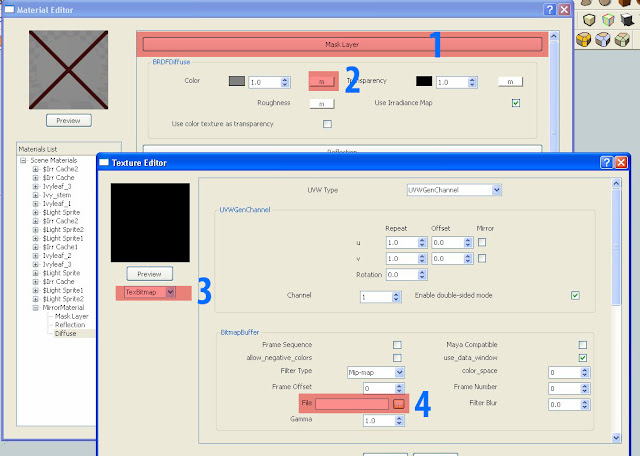
Step 6: Load the created Mask Map to the Bitmap box.
1. Mask Layer (2nd diffuse map renamed as Mask map)
2. Click "m" to load Map
3. Select TexBitmap
4. Load the Png file that was created.
Step 7: Use color texture as transparency
Now this is the most important in this mask layer. Tick color texture as transparency.

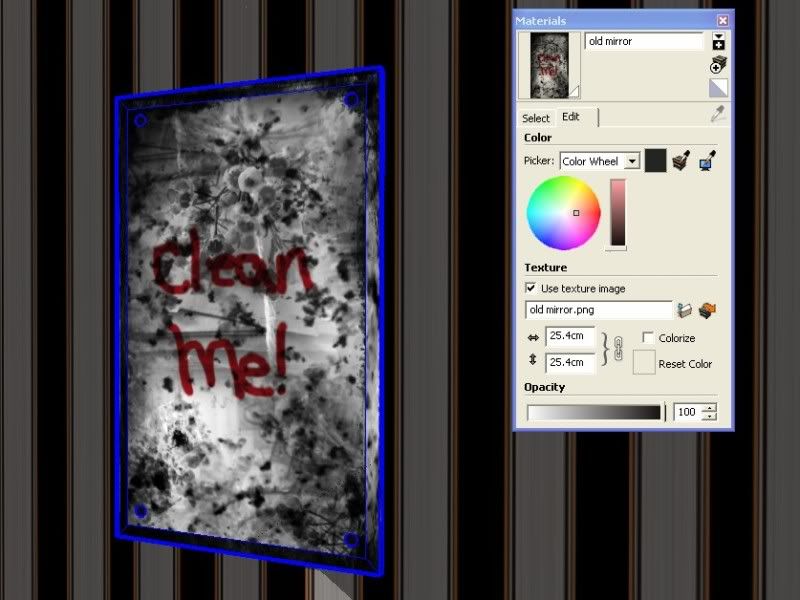
Back to SketchUp interface. Here how the map has been applied.

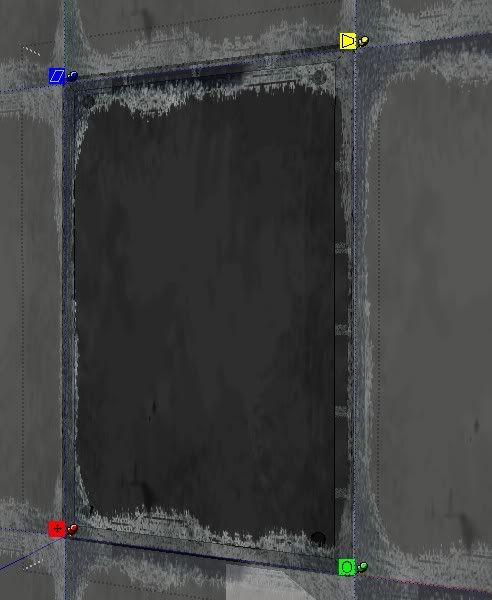
Step 8: Reposition the Pins
Now let us reposition the pins of the texture
 .
.
Here is the render. The texture map on top of the reflection layer. With this workflow, I think it will open up with many possibilities when it comes to using masking... You can even put as many stacks of Diffuse layer as you want...I hope many of you will try to help me in exploring these possibilities.
The good thing with SketchUp, you can always edit this texture, by clicking the orange arrow on the right of texture image material.
Here I tried to re-edit my map.
Once saved, the image will be automatically updated.
Here is the render Image
This is the same technique I did with this one..

Here I also use the same technique on top of the Emissive layer

As I have explained in this tutorial, these layers could be stacked together and the layer placements can have an impact to the material properties. This will be an advantage to those of you who use Photoshop or Gimp. Let me take this further to our next Advanced tutorial series. Let's start!
Step 1: Set-up
Let me use this mirror in my Basic Vray SketchUp Series.
Step 2: Create/rename VRAY Material
Select the Mirror material and go to Vray Material editor, rename your Vray Material.
Step 3: Create Reflection Layer

When you created reflection layer, VRAY will stack it on top of your Diffuse Layer. Notice also that the Reflection layer has no Map applied, therefore this is a perfect mirror material wit 100%reflective property.
Here is the render. The mirror material is showing.
But now I want to achieve this type of material, I want the reflection to happen, but at the same time I need to put the dust, scratches, letters etc.

Step 4: Creating the Dust, scratch material in Photoshop (mask map)
I would like to thank Zernan Suarez aka Zdesign for this beautiful material which you can download HERE.
I will use this initial texture material and re-do it in Photoshop.
Here I loaded the material in Photoshop

Double click the Background in the Layer window tab and convert it to Layer 0 (or rename it to whatever name you like). Create a new layer (with transparent BG and place it below Layer 0

Go to Layer 0 and select color range (you can also use the magic wand). Select the white area and click OK.

Here is the selected layer.
Press the DELETE button to delete the white areas. See the result below.

Now use grunge brushes, scratch brushes..You can download a lot of these brushes HERE or any other Photoshop brushes sites. I choose this Grunge spatter brush and loaded them in my Photoshop brushes root folder.

Use these brushes with low opacity and paint whatever effect you want.

Here is my finished one. In this screen grab I put white Background to see the effect better. When you save this material be sure to remove the white background. I also re-sized the material for a better ratio with my mirror material in SketchUp. Be sure to save in PNG (to support transparency). You can also download the file below, this is the same map I used on this tutorial.
Step 5: Creating Second Diffuse material
At the moment you have these stack.. The reflection material over the diffuse material.


Rename this layer as Mask Map

Now Here is your current stack.

Step 5: Mask Layer as top Layer
Move the Mask layer (the second diffuse material) on top of the Reflection Layer.

Step 6: Load the created Mask Map to the Bitmap box.
1. Mask Layer (2nd diffuse map renamed as Mask map)
2. Click "m" to load Map
3. Select TexBitmap
4. Load the Png file that was created.

Step 7: Use color texture as transparency
Now this is the most important in this mask layer. Tick color texture as transparency.
Back to SketchUp interface. Here how the map has been applied.
Step 8: Reposition the Pins
Now let us reposition the pins of the texture
Here is the render. The texture map on top of the reflection layer. With this workflow, I think it will open up with many possibilities when it comes to using masking... You can even put as many stacks of Diffuse layer as you want...I hope many of you will try to help me in exploring these possibilities.
The good thing with SketchUp, you can always edit this texture, by clicking the orange arrow on the right of texture image material.
Here I tried to re-edit my map.
Once saved, the image will be automatically updated.
Here is the render Image
This is the same technique I did with this one..

Here I also use the same technique on top of the Emissive layer
ang galing sir di ko naisip to hehehehe thank's
ReplyDeleteako rin bro. may nagtanong lang kung paano i produce yung may mirror na inattach ko. So that was actually the catalyst. It just came to my mind about this layering. and of course my old workaround with fire and candle light material which were old tutorials before. so just a combination. but this is also my first time of putting an additional diffuse layer as mask map.
ReplyDelete