

First of all, we would like to thank DBrenders for this very nice tutorial using Artisan plugin for SketchUp. If you want to visit DB renders site click HERE. You will see not just the models, but his designs and renders. Without further adieu here is DB Renders modeling tutorial.
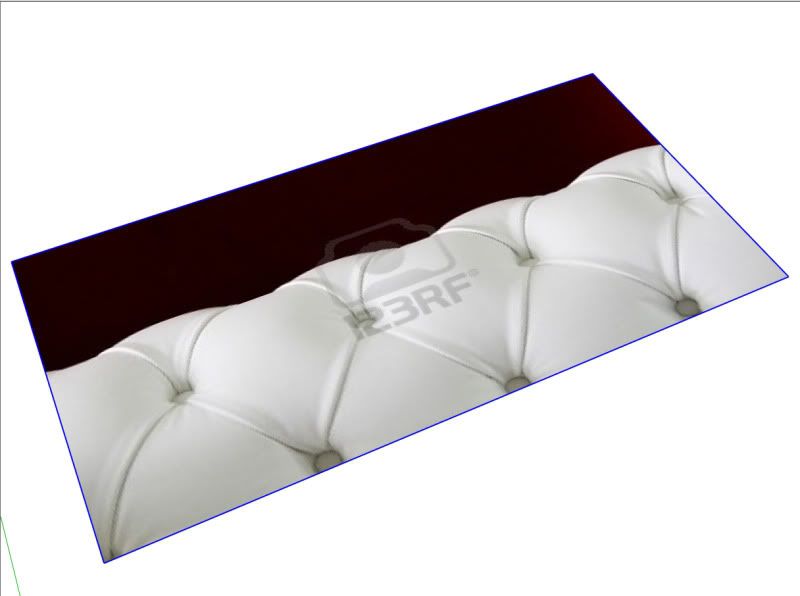
Step 1: Import the reference image
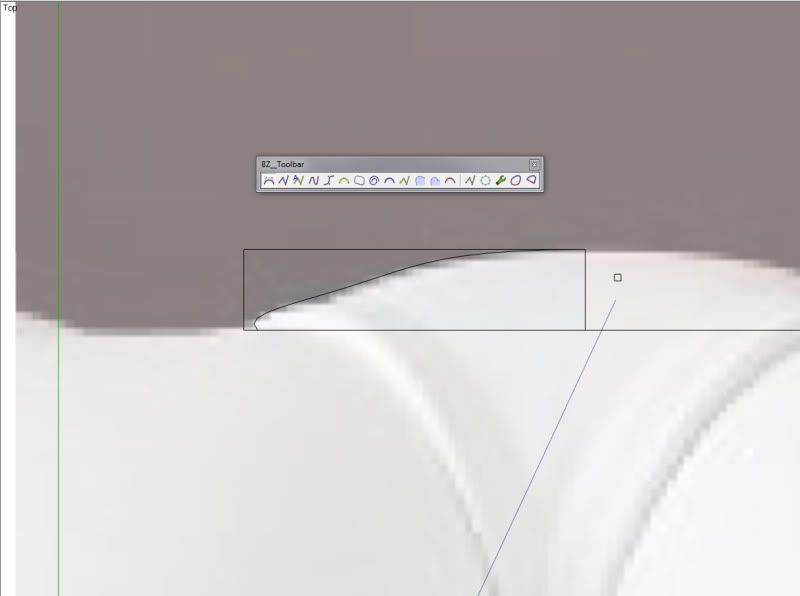
Step 2: Use Bezier plugin.
Click on the Bezier toolbar the first icon (classic Bezier curve) and trace half of the contour line, later we will do mirror symmetry
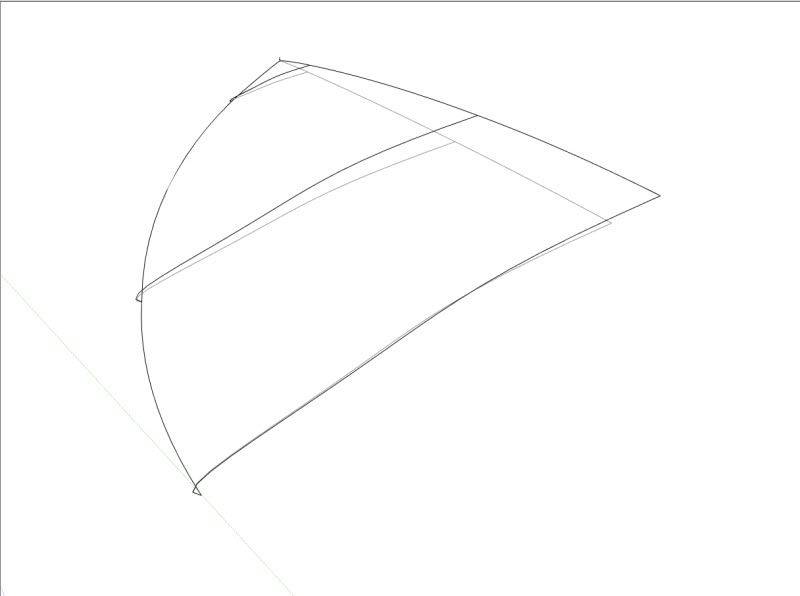
Step 3: Rotate and scale using Fredo Scale script. Draw the arc be careful in joining the end points
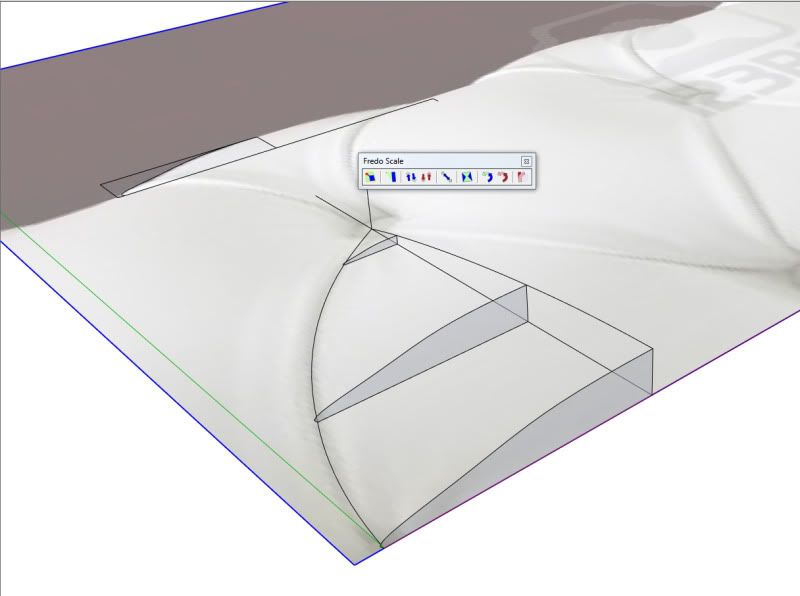
Now you have the Alhambric shape or the base rails.
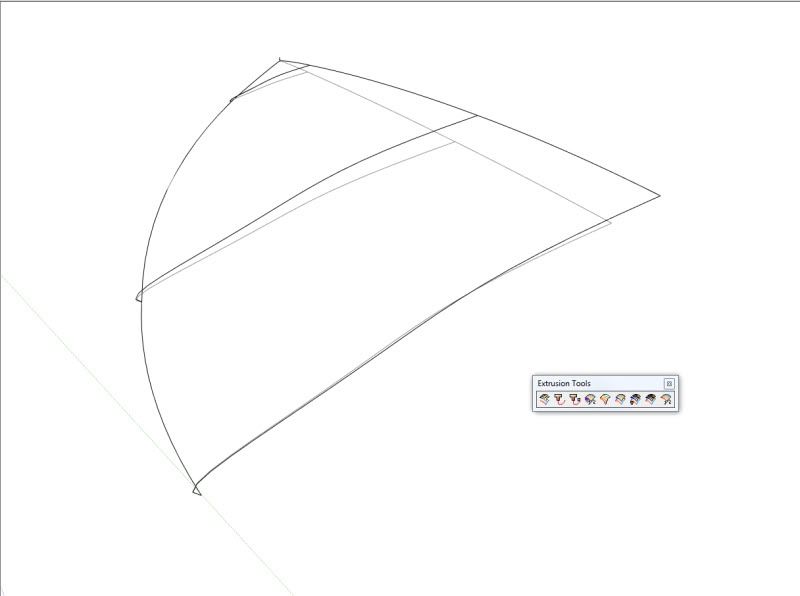
Step 4: Use extrusion tools (extrude edges by rails).
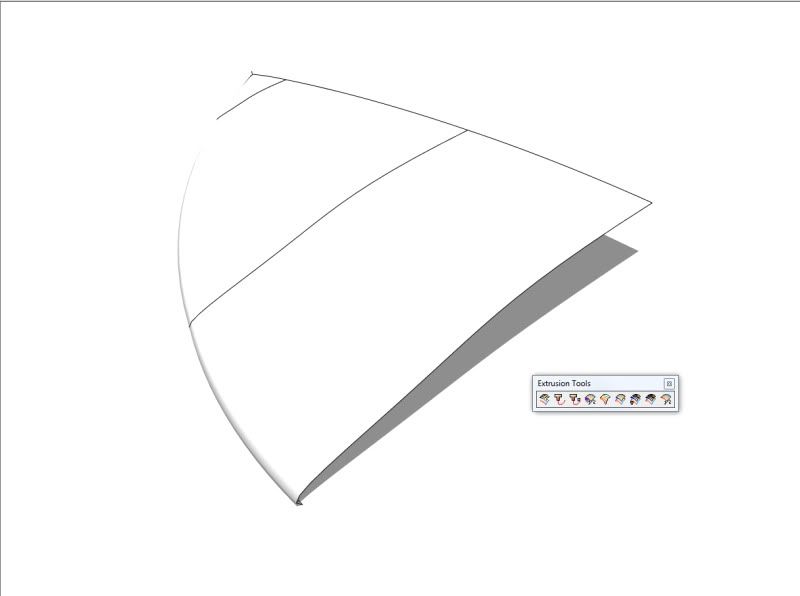
Step 5: Explode the surface together with the Bezier lines.
Redraw the missing faces. Now we have the surface ready to be sculpted with artisan tools.
Step 6: Check your surface and make component if needed.

Step 7: Rotate and mirror, to complete the basic shape.
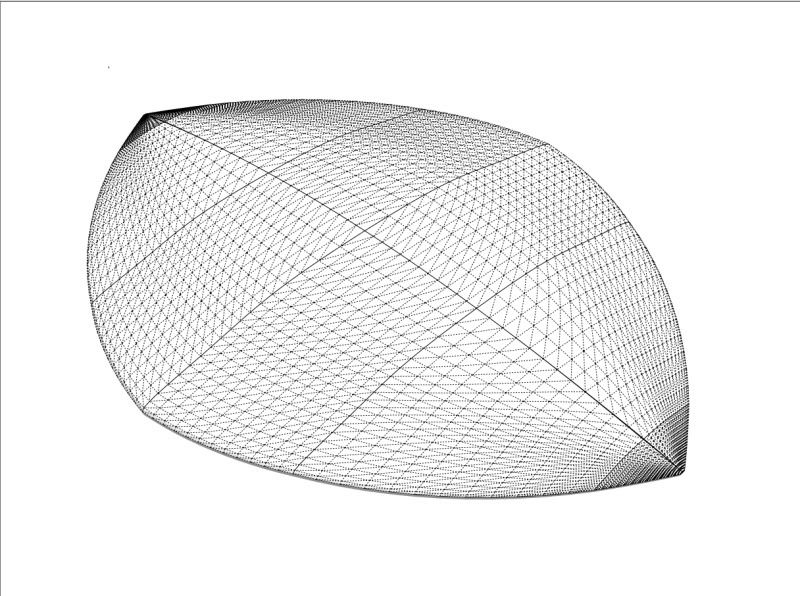
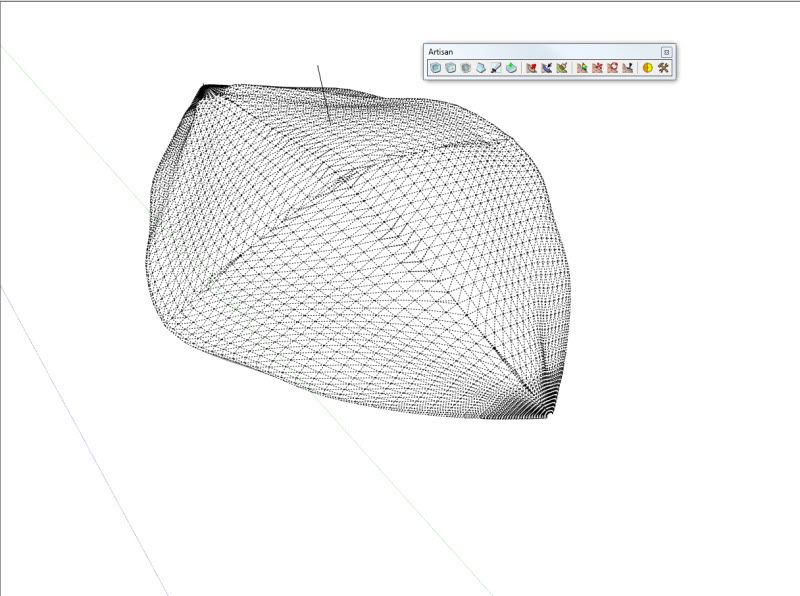
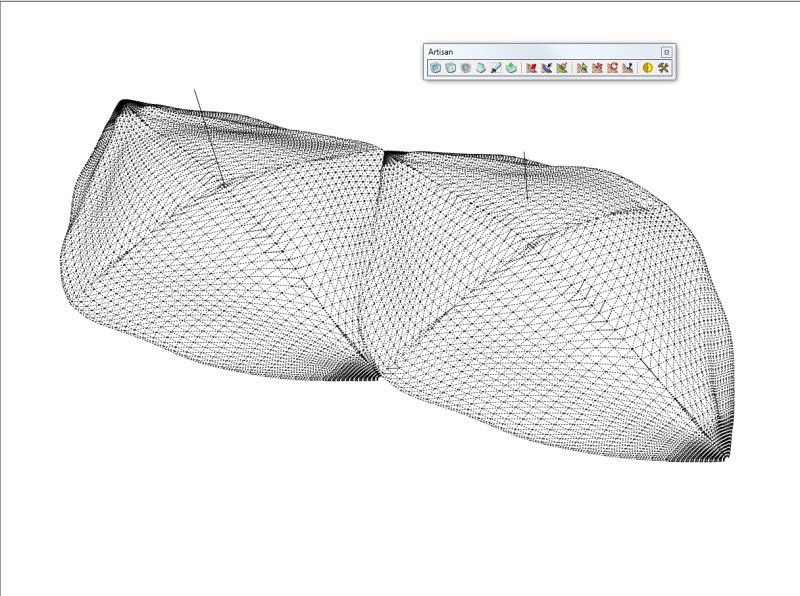
Step 8: Use artisan script by Dale Martens.
Click the sculpt tool, inflate and flatten smooth until you sculpted the desired shape. Once finished, create a component
Step 9: Copy it and make it unique. Copy and make unique so as to have diferent variations of it, repeat artisan modeling.
Step10: Enable shadow to check the volume.

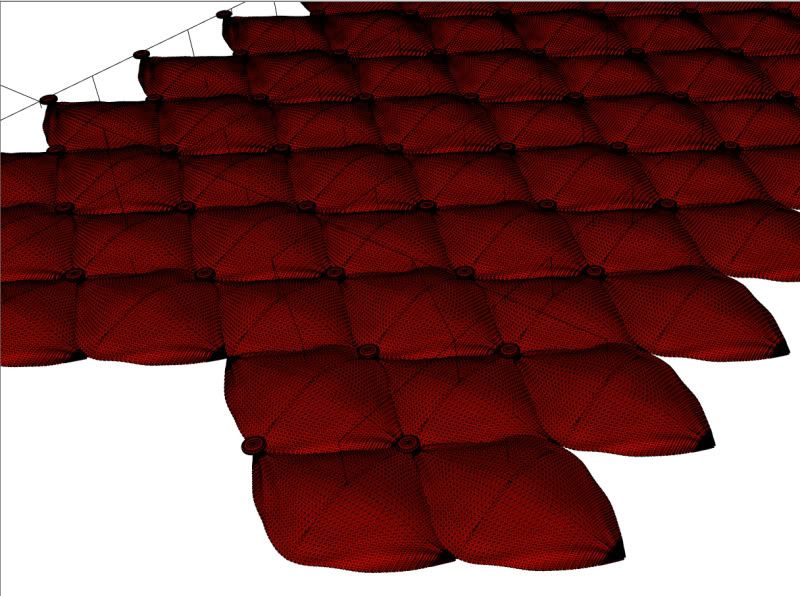
Step11: Model the buttons using subdivide and smooth from artisan.

Step 12: Copy and make an array composition.
Time to render
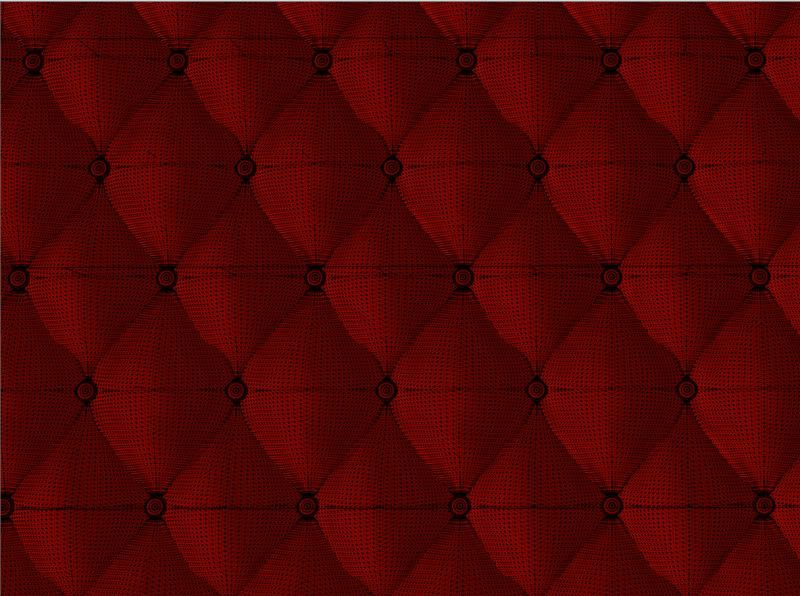
Here is final image

Step 1: Import the reference image
Step 2: Use Bezier plugin.
Click on the Bezier toolbar the first icon (classic Bezier curve) and trace half of the contour line, later we will do mirror symmetry
Step 3: Rotate and scale using Fredo Scale script. Draw the arc be careful in joining the end points
Now you have the Alhambric shape or the base rails.
Step 4: Use extrusion tools (extrude edges by rails).
Step 5: Explode the surface together with the Bezier lines.
Redraw the missing faces. Now we have the surface ready to be sculpted with artisan tools.
Step 6: Check your surface and make component if needed.
Step 7: Rotate and mirror, to complete the basic shape.
Step 8: Use artisan script by Dale Martens.
Click the sculpt tool, inflate and flatten smooth until you sculpted the desired shape. Once finished, create a component
Step 9: Copy it and make it unique. Copy and make unique so as to have diferent variations of it, repeat artisan modeling.
Step10: Enable shadow to check the volume.
Step11: Model the buttons using subdivide and smooth from artisan.
Step 12: Copy and make an array composition.
Time to render
Here is final image
No comments:
Post a Comment