
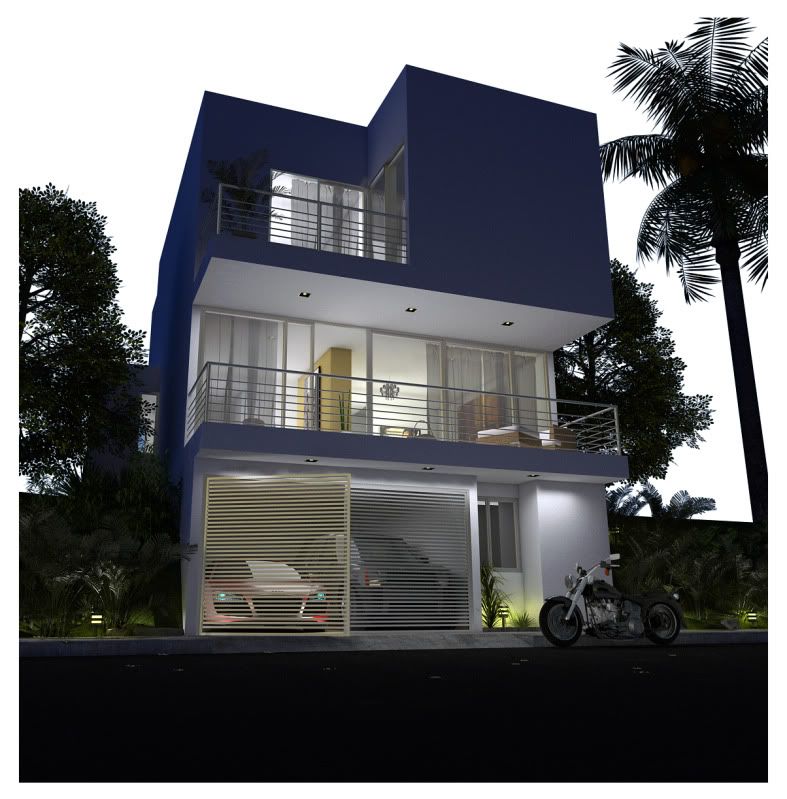
Step1: Saving the Raw render
Here is the raw render image. Be sure that you have a png file format. Be sure also that in the Vray channels you selected both Diffuse and Alpha Channel.

Step 2: Adjusting the exposure
Adjusting the exposure, in the image below minimal adjustment of levels, color balance and brightness and contrast were done. I should say pretty stratight forward Autos...
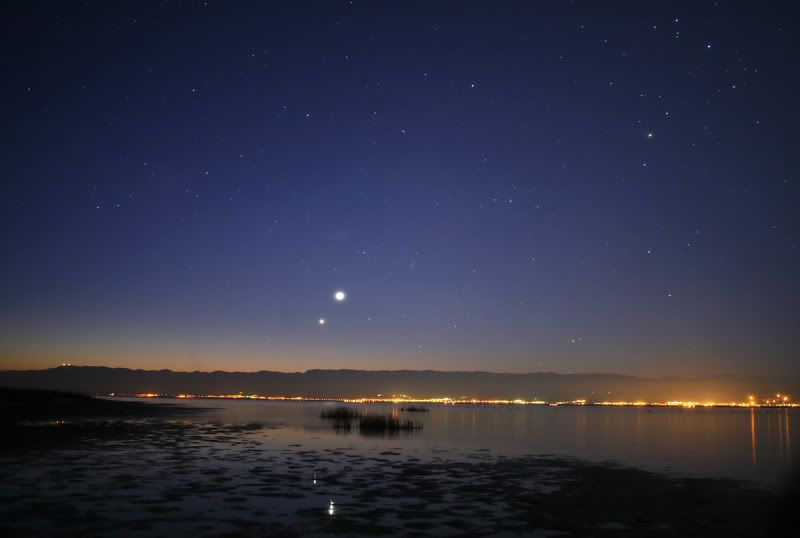
Step 3: Adding the Backgound.
It is very important to consider between the ambient light created by an HDRI (especially in night time tutorial) and the background image. You can download the HDRI i used HERE. Below is the background image that I will be using for this AVPP.
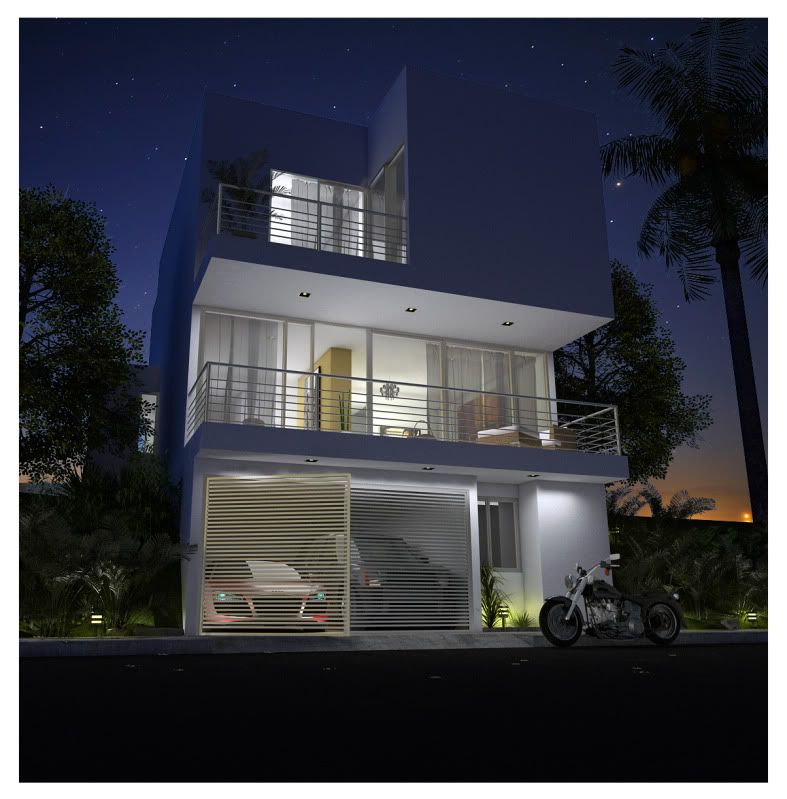
Background added to the background. In photoshop is easy, all you need to do is to put the Background image below the render file. This is where png file is handy (png file supports transparencies).
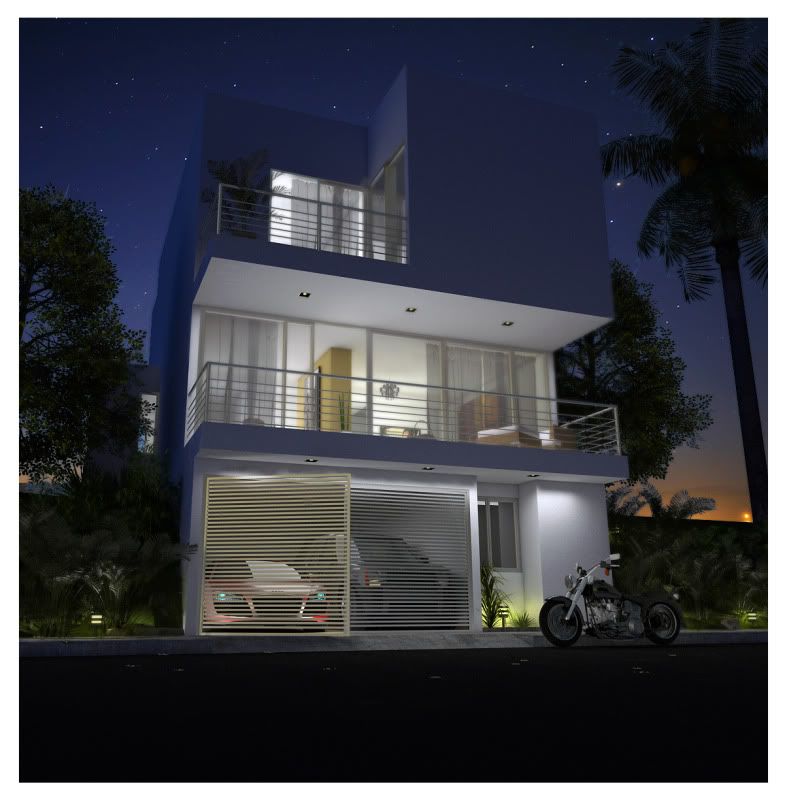
Step 4: Adding diffuse glow.
Adding suttle glow using diffuse glow filter in photoshop
No comments:
Post a Comment