This is a tutorial done by Nheil Rule using the old version of Vray SketchUp. Although it was done with the old one. The trick is very different and can be done easily with the new one. The inspiration of this tutorial came from Neal Cristobal.
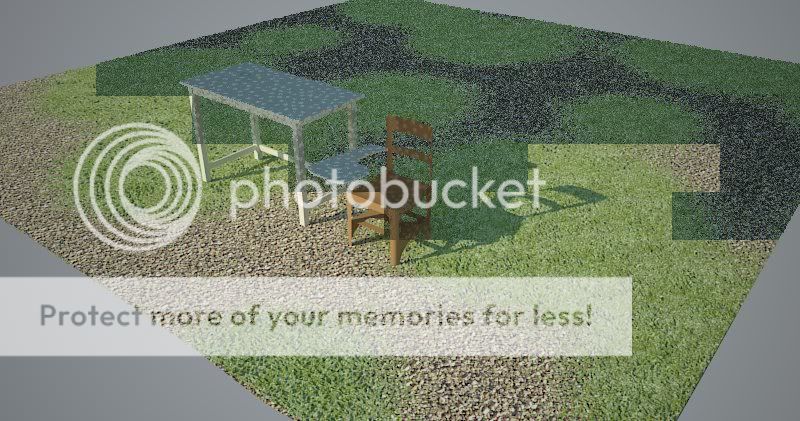
Here is the preview of the tutorial
Left: The bump and displacement map. You have to adjust the UV size of this map. In my case I use UV mapping scale of 0.02
Step 1: Create two planes.
Create two faces. Top Plane grass material. Bottom plane rock and concrete ground gravel material. In this tutorial the distance between the two planes is 1mm or 0.001m.
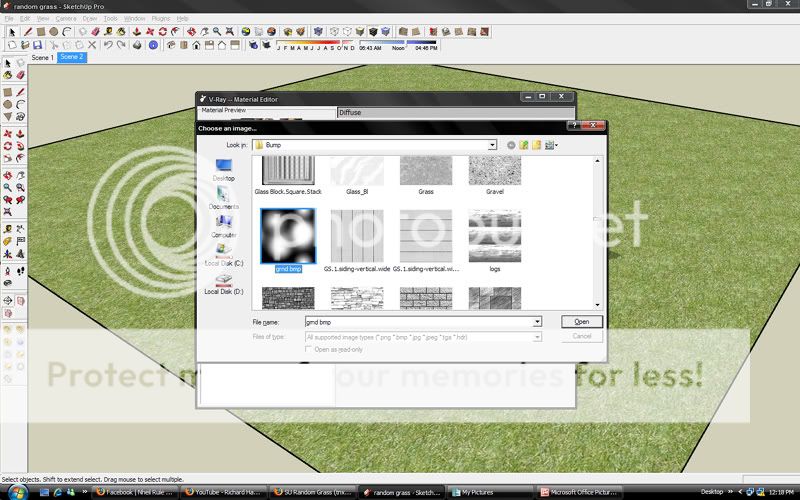
Step 2: The concrete ground cover gravel material
Tick the bump and displacement slot to load the bump and displacement map for the ground gravel material
Step 3: The bump map
The bump displacement map is very important. The white areas will be displaced while the black ares wont.
Step 4: Adjust the UV map tile and multiplier
As for the grass. do not displace that much. The trick would be: the white areas of the concrete gravel map will be displace more than the grass. giving the illusion of procedural texture between the two maps.


Wow It's all are the one of the well design images and resources. it have a so mch clarity in the picture and looking so much attractive and connected with the text.
ReplyDeletepsd to html
thanks bro.
ReplyDeleteplease tutorial with film.i dont know what did you do?
ReplyDelete